Video toolkit
The Video Toolkit Node provides several tools to manipulate videos. Each task is designed to make video editing and format conversions easier.
Tasks
Convert Input to MP4
Description: Converts the uploaded video file into MP4 format, which is widely supported across devices and platforms.
Use Case: If your video is in an uncommon format, e.g. webm or mkv and needs to be played on most devices, convert it to MP4.
Convert Input to GIF
Description: Converts the uploaded video into a looping animation in GIF format.
Use Case: Perfect for creating short, silent, shareable animations for social media or websites.
Extract Video Audio as MP3
Description: Extracts the audio from the video and saves it as an MP3 file.
Use Case: Ideal for podcasts, music tracks, or dialogue extraction from video content.
Zipped Frames to MP4
Description: Combines a set of sequential image frames from a ZIP archive into an MP4 video.
Use Case: Use this when you have a series of images that need to be stitched into a video.
Zipped Frames to GIF
Description: Creates a looping GIF animation from a ZIP archive of sequential image frames.
Use Case: Create animated GIFs from a series of images.
Extract Frames from Input
Description: Extracts individual image frames from the video and saves them as a series of images.
Use Case: Helpful for analyzing video content frame by frame or creating thumbnails.
Reverse Video
Description: Reverses the playback of the video.
Use Case: Useful for creative effects or when you want to show an action happening in reverse.
Bounce Video
Description: Creates a “boomerang” effect where the video plays forward and then reverses in a loop.
Use Case: Great for making eye-catching effects for social media.
Parameters
Input File
Purpose: Upload the video file you want to process.
Accepted Formats: Common video formats like MP4, AVI, MOV, etc.
FPS (Frames Per Second)
Purpose: Determines the playback speed or smoothness of the video.
Default Value: Often set at 30 FPS, which is a standard frame rate.
Adjustments:
Lower FPS (e.g., 15): Creates a choppier, less smooth video but reduces file size.
Higher FPS (e.g., 60): Provides smoother motion but increases file size.
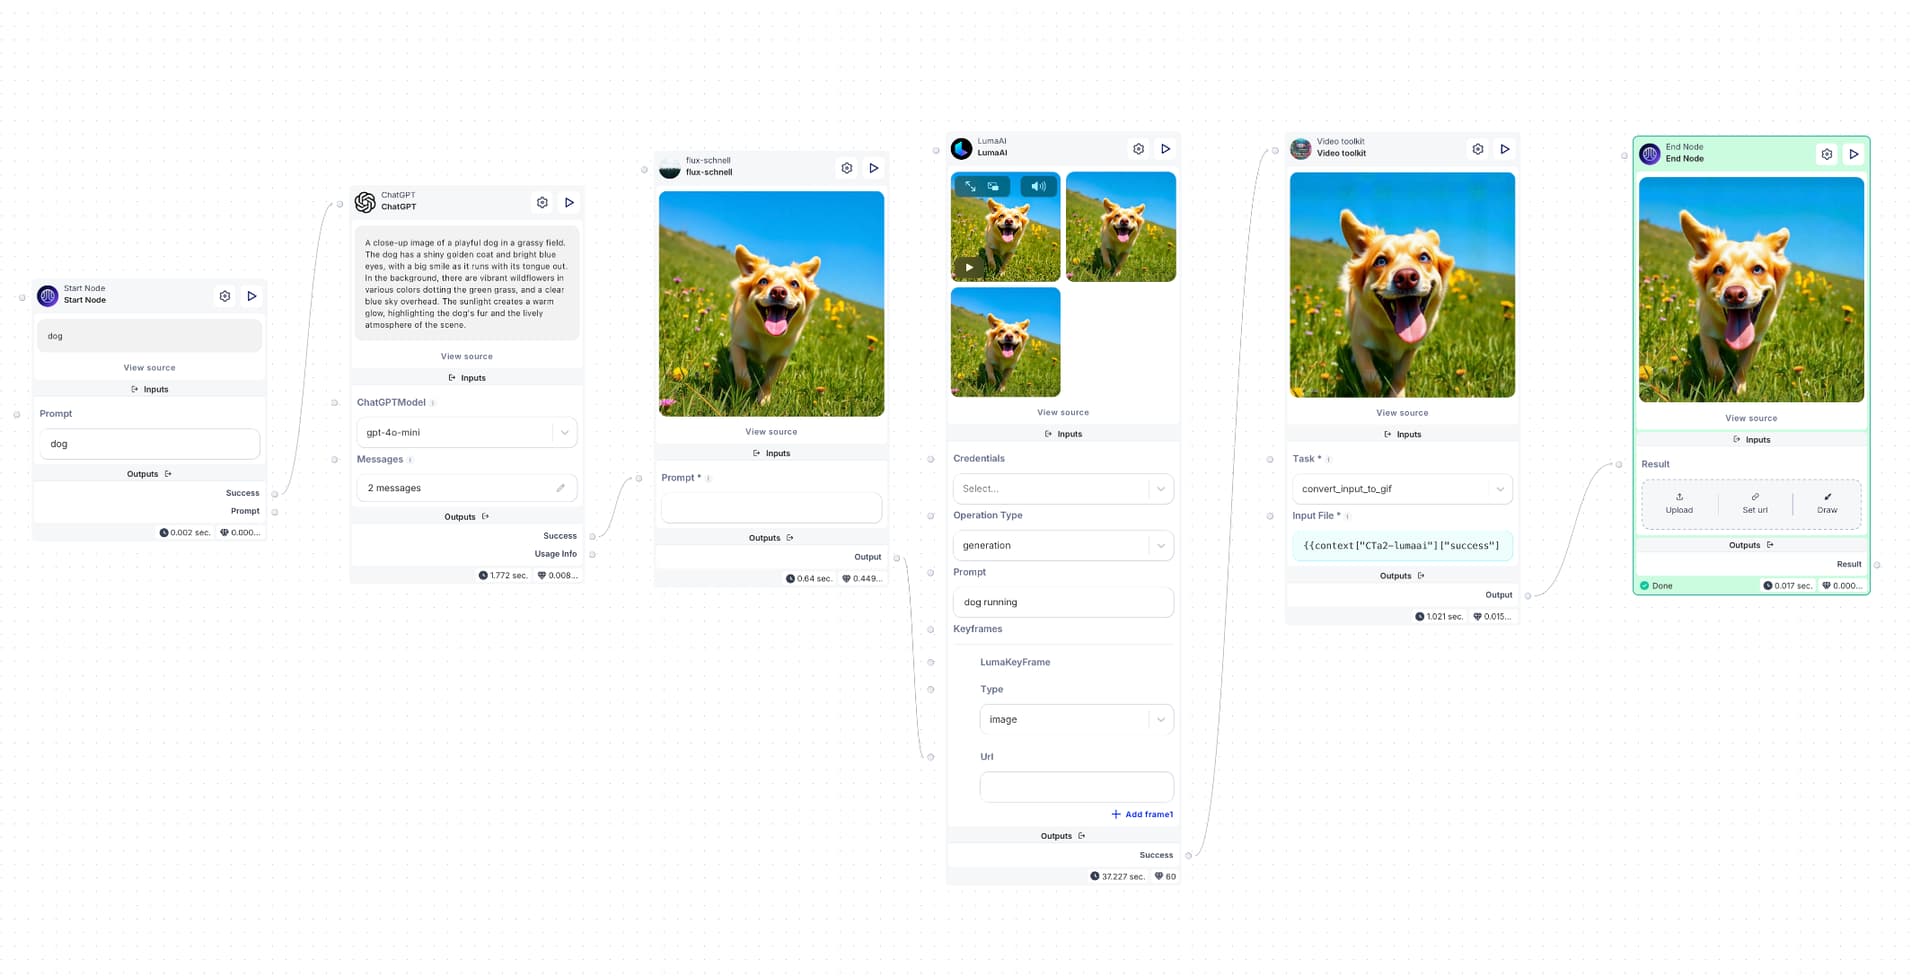
How to use on Scade
Let’s create a workflow that converts a simple text prompt into a refined GIF.
Start node prompt Input: Provide a text prompt.
Refinement for Image Generation: ChatGPT refines the prompt, tailoring it for image generation models to ensure optimal results.
Image Creation: The refined prompt is processed by a Flux Shell node to generate the desired image.
Video Conversion: Luma AI transforms the generated image into a dynamic video format.
GIF Creation: The resulting video is passed through a Video Toolkit node, where the task “Convert Input to GIF” is applied, producing the final GIF.