Step-by-step guide to connecting a Telegram bot on Scade
Step 1: Create a Telegram bot
-
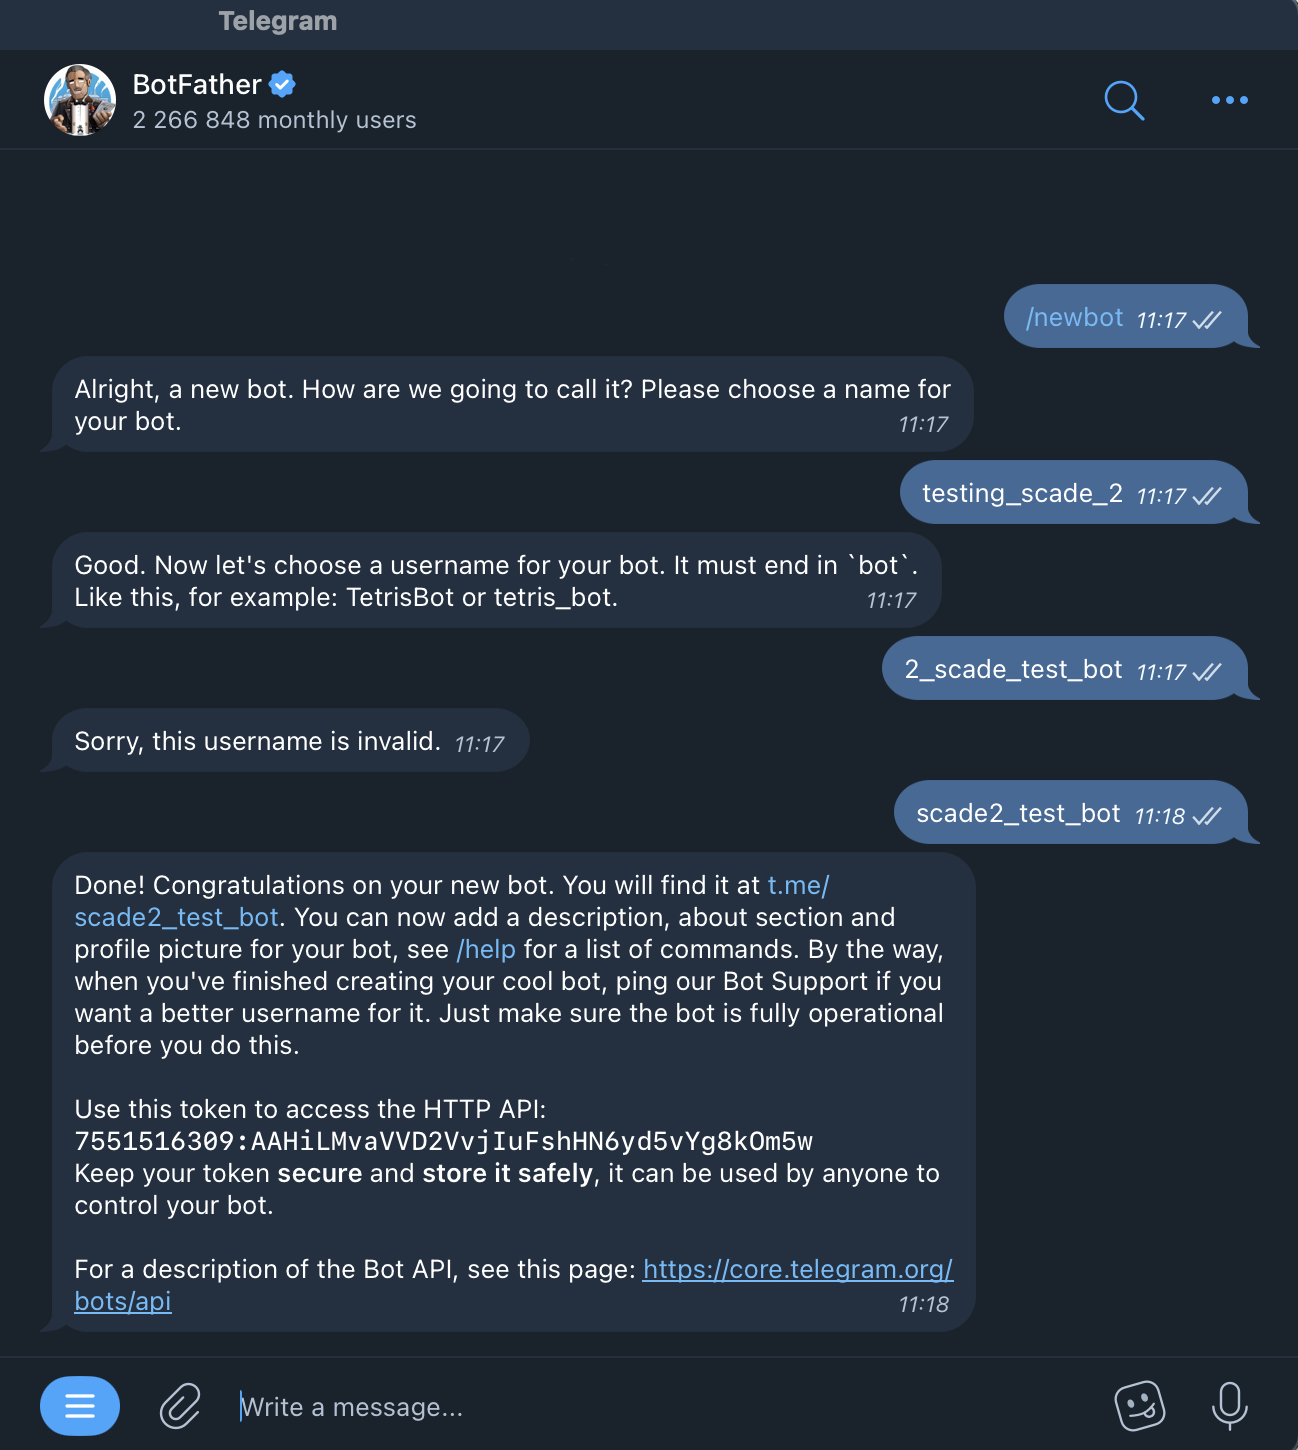
Open Telegram and search for the BotFather bot.
-
Start a new conversation and type /newbot.
-
Name your bot: Enter a name, such as TestBot.
-
Set the bot’s username: It must end with “bot” (e.g., ScadeTestBot).
-
Once created, you’ll receive a token. Save this token for configuration.
Step 2: Configure your bot in triggers
-
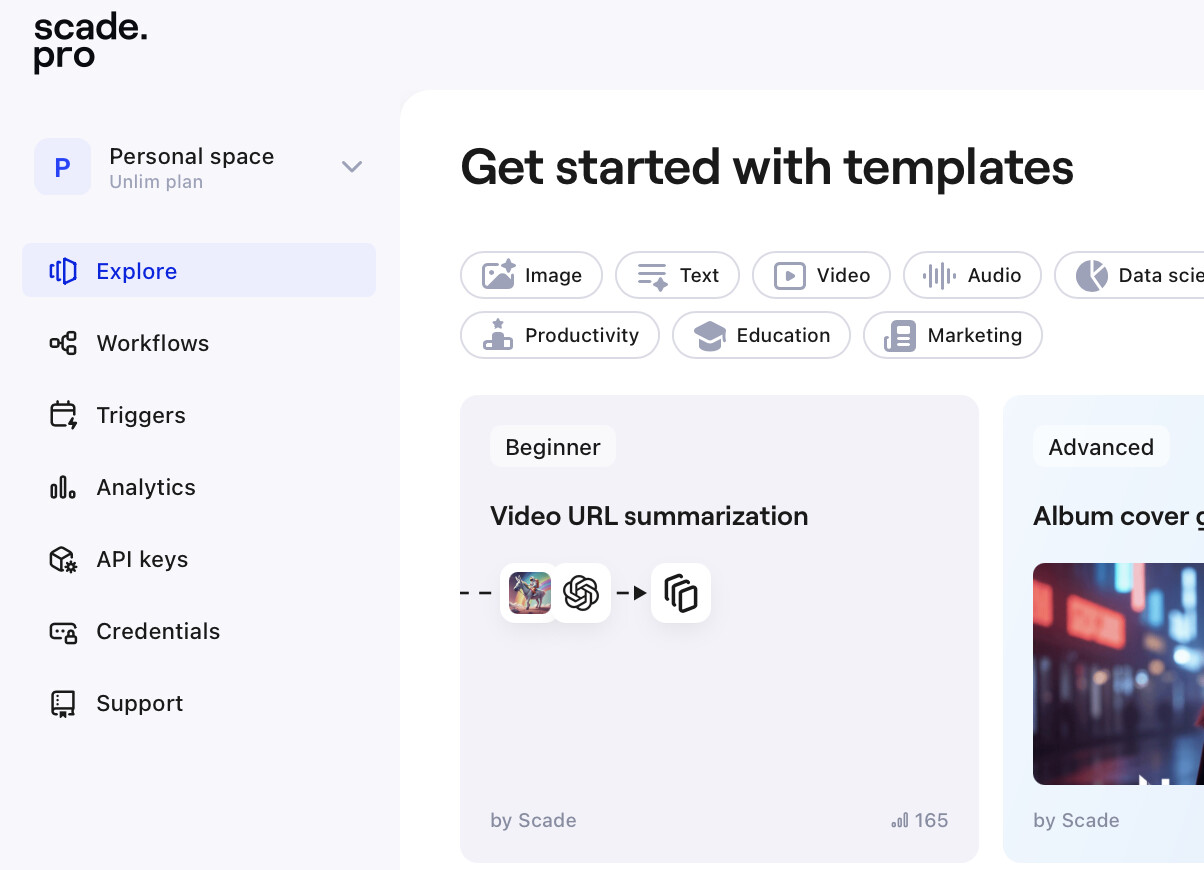
Go to Scade main page.
-
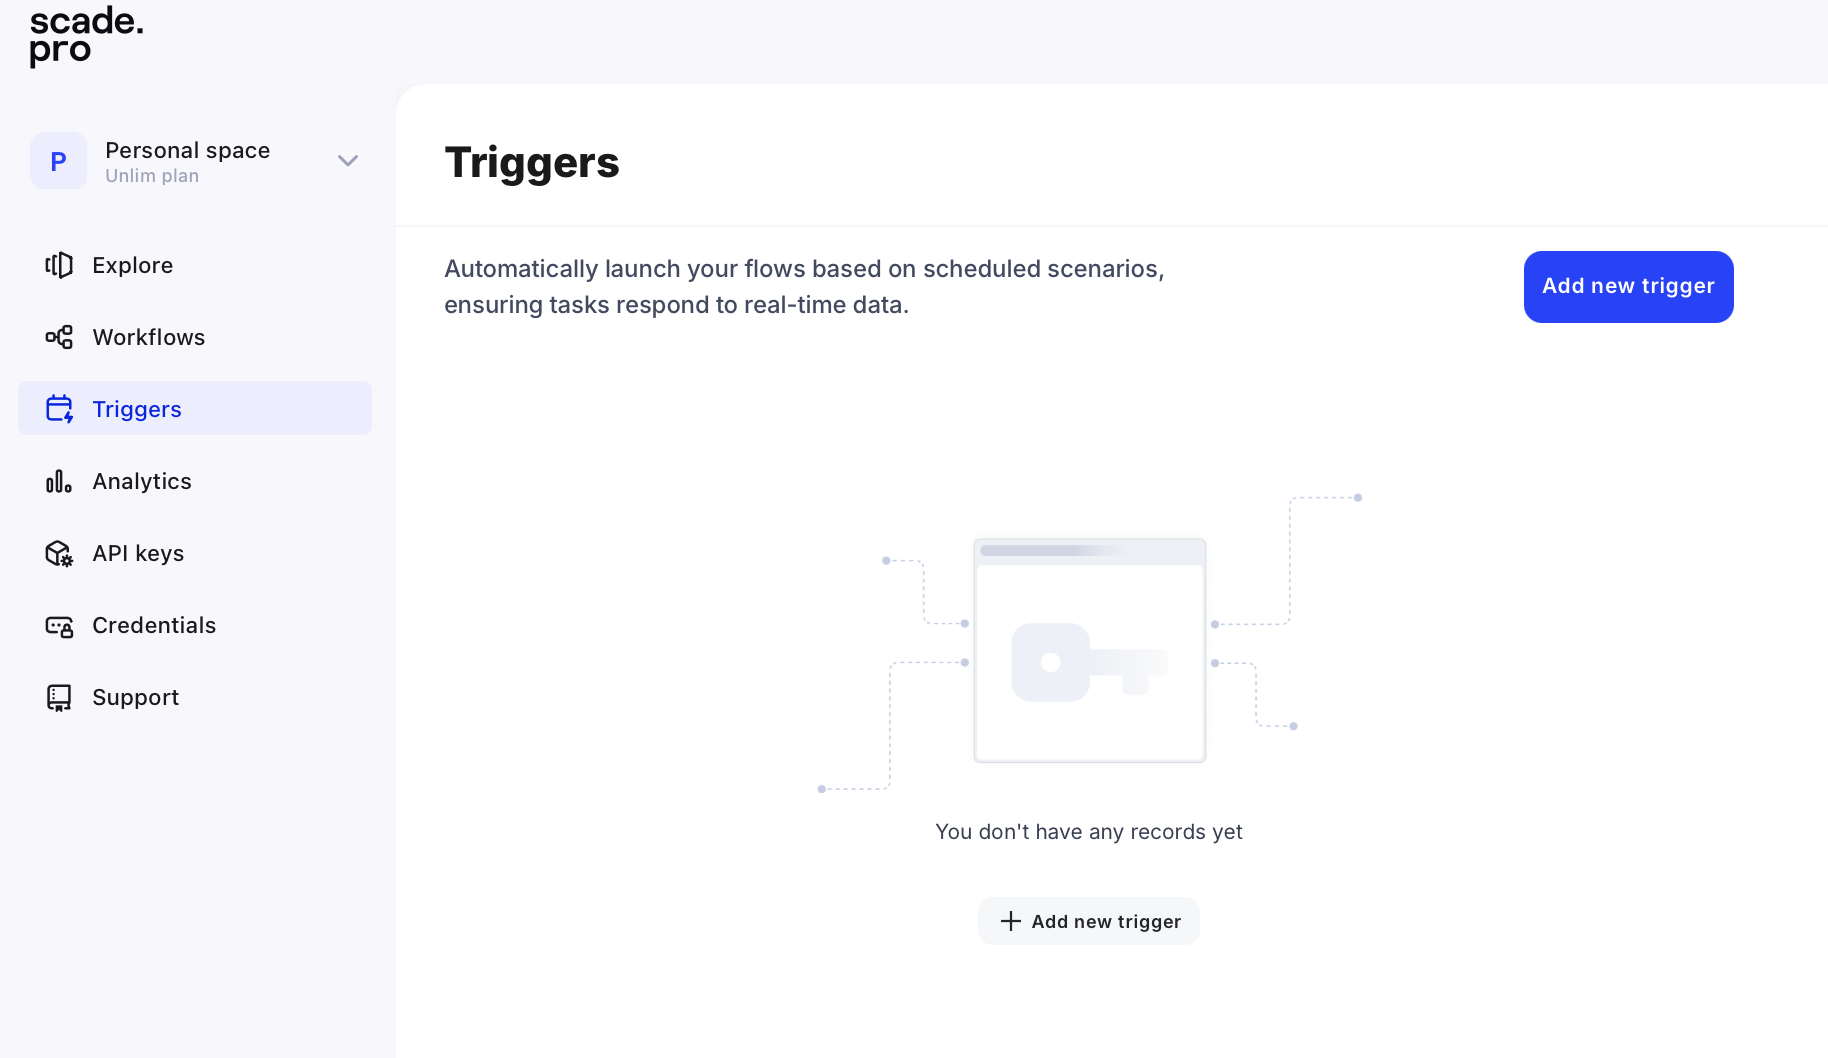
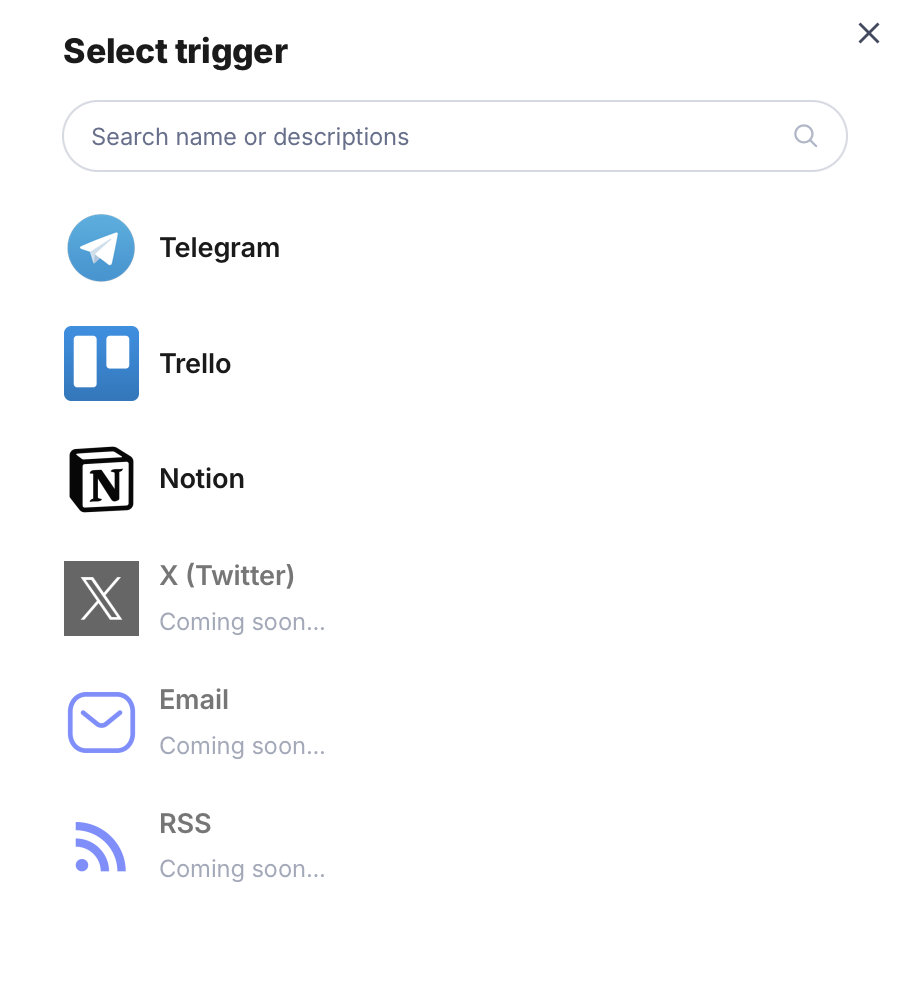
Go to Triggers on the left side and click on Add New Trigger.
-
Select Telegram.
-
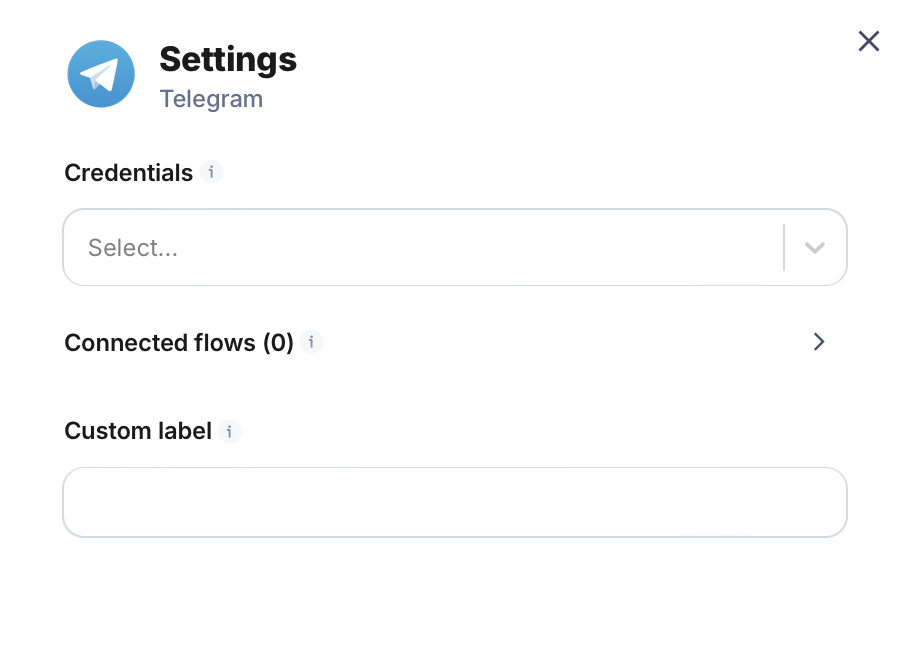
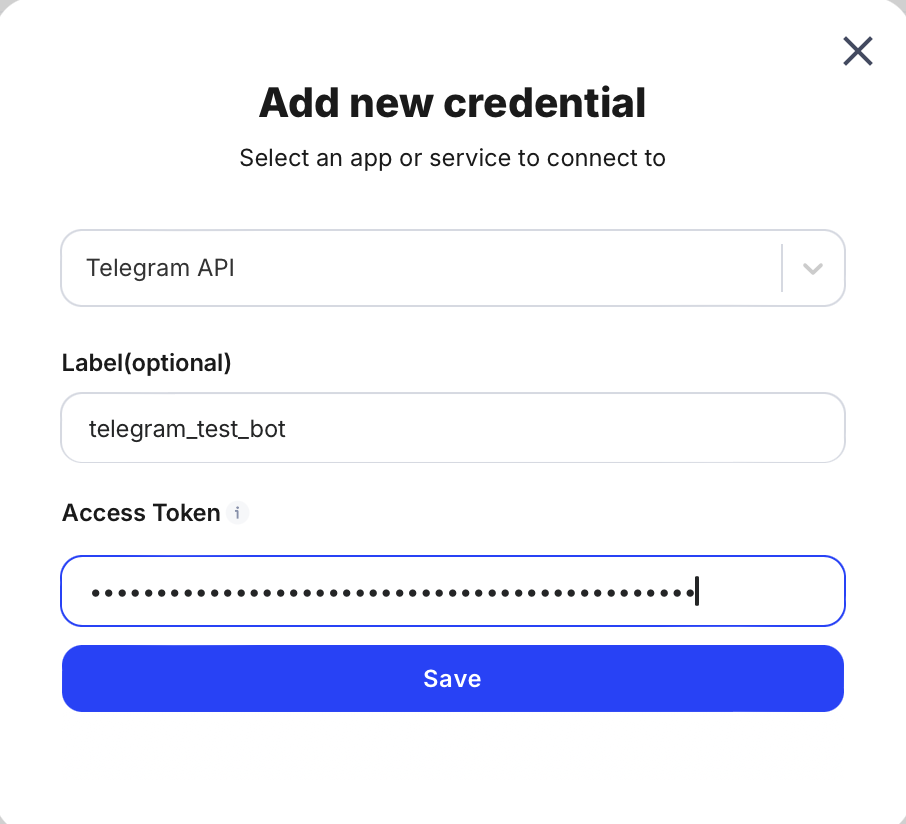
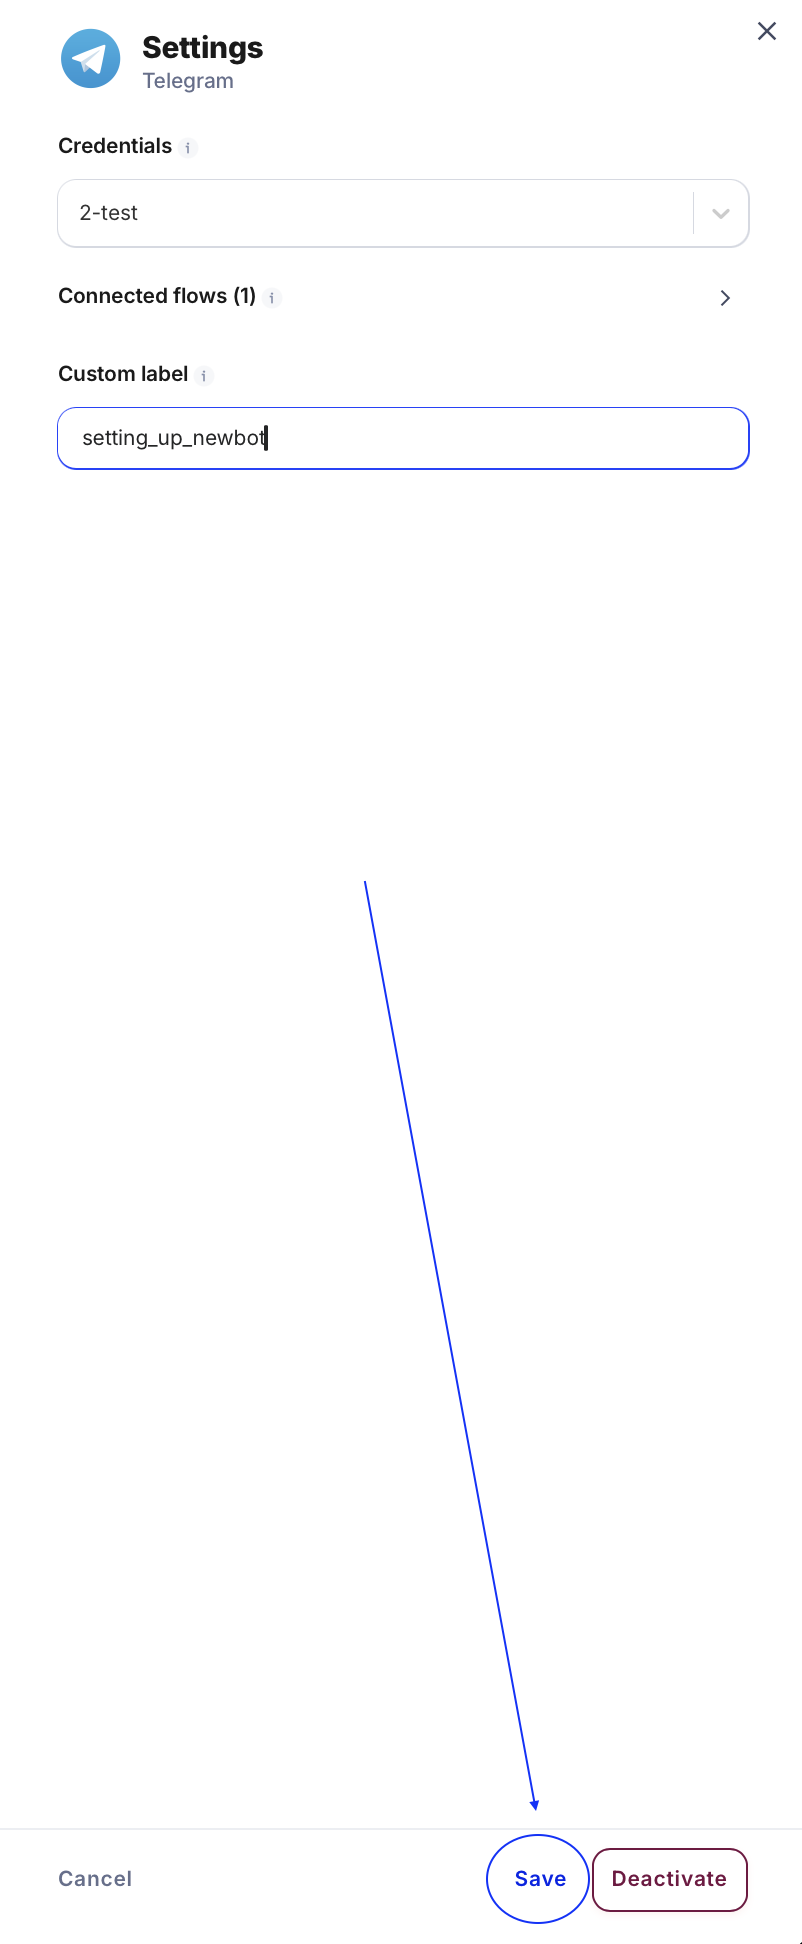
Choose Credentials and enter the data. Paste the token from BotFather into the Access Token field.
Step 3: Create new flow
Open the canvas by pressing Create on Explore page or Workflows page , where you’ll see the start and end nodes. Name your flow without adding anything else.
Step 4: Connect flow to bot
-
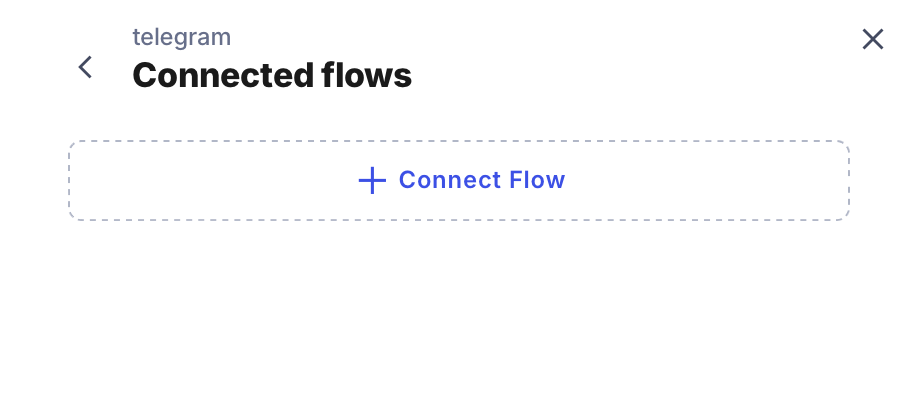
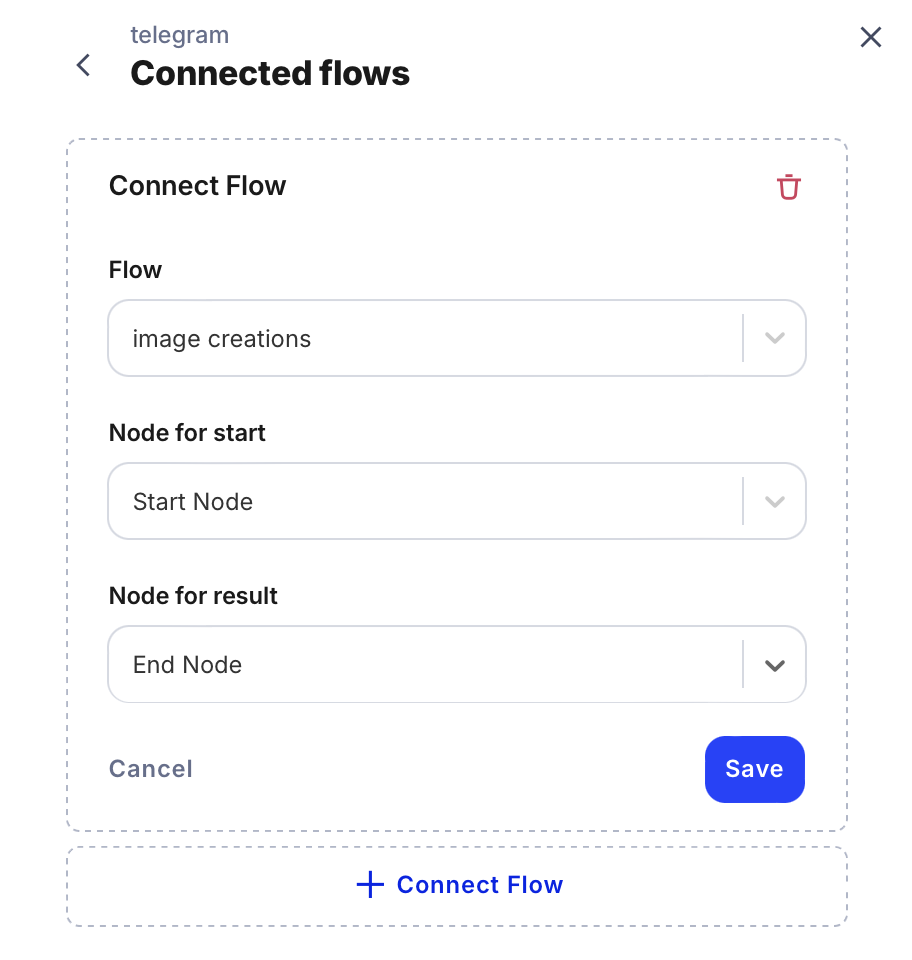
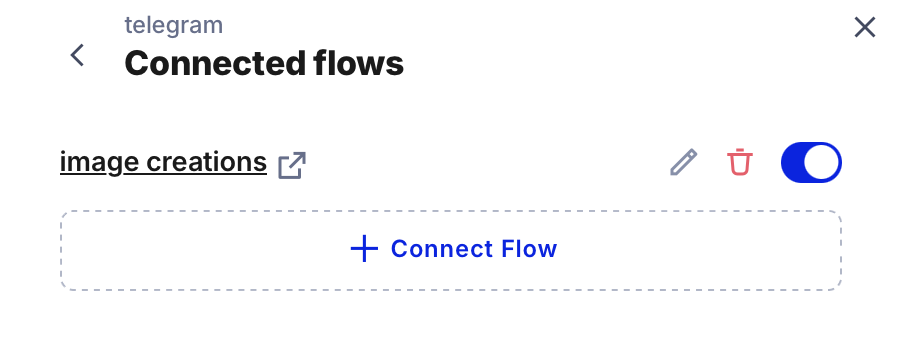
Go back to Triggers and in settings go to the Connected flows and add your flow. Choose Start and End nodes. Save and turn on the tumbler for the added flow.
Please note that there is a save button on the bottom of the page, don’t forget to press it otherwise the information will be lost. -
Go to Telegram, open your bot, and press “Start” or send the /start command. Then, return to your flow editor and open the Analytics tab at the top left corner. If the connection is successful, you will see a new entry in the run history.
-
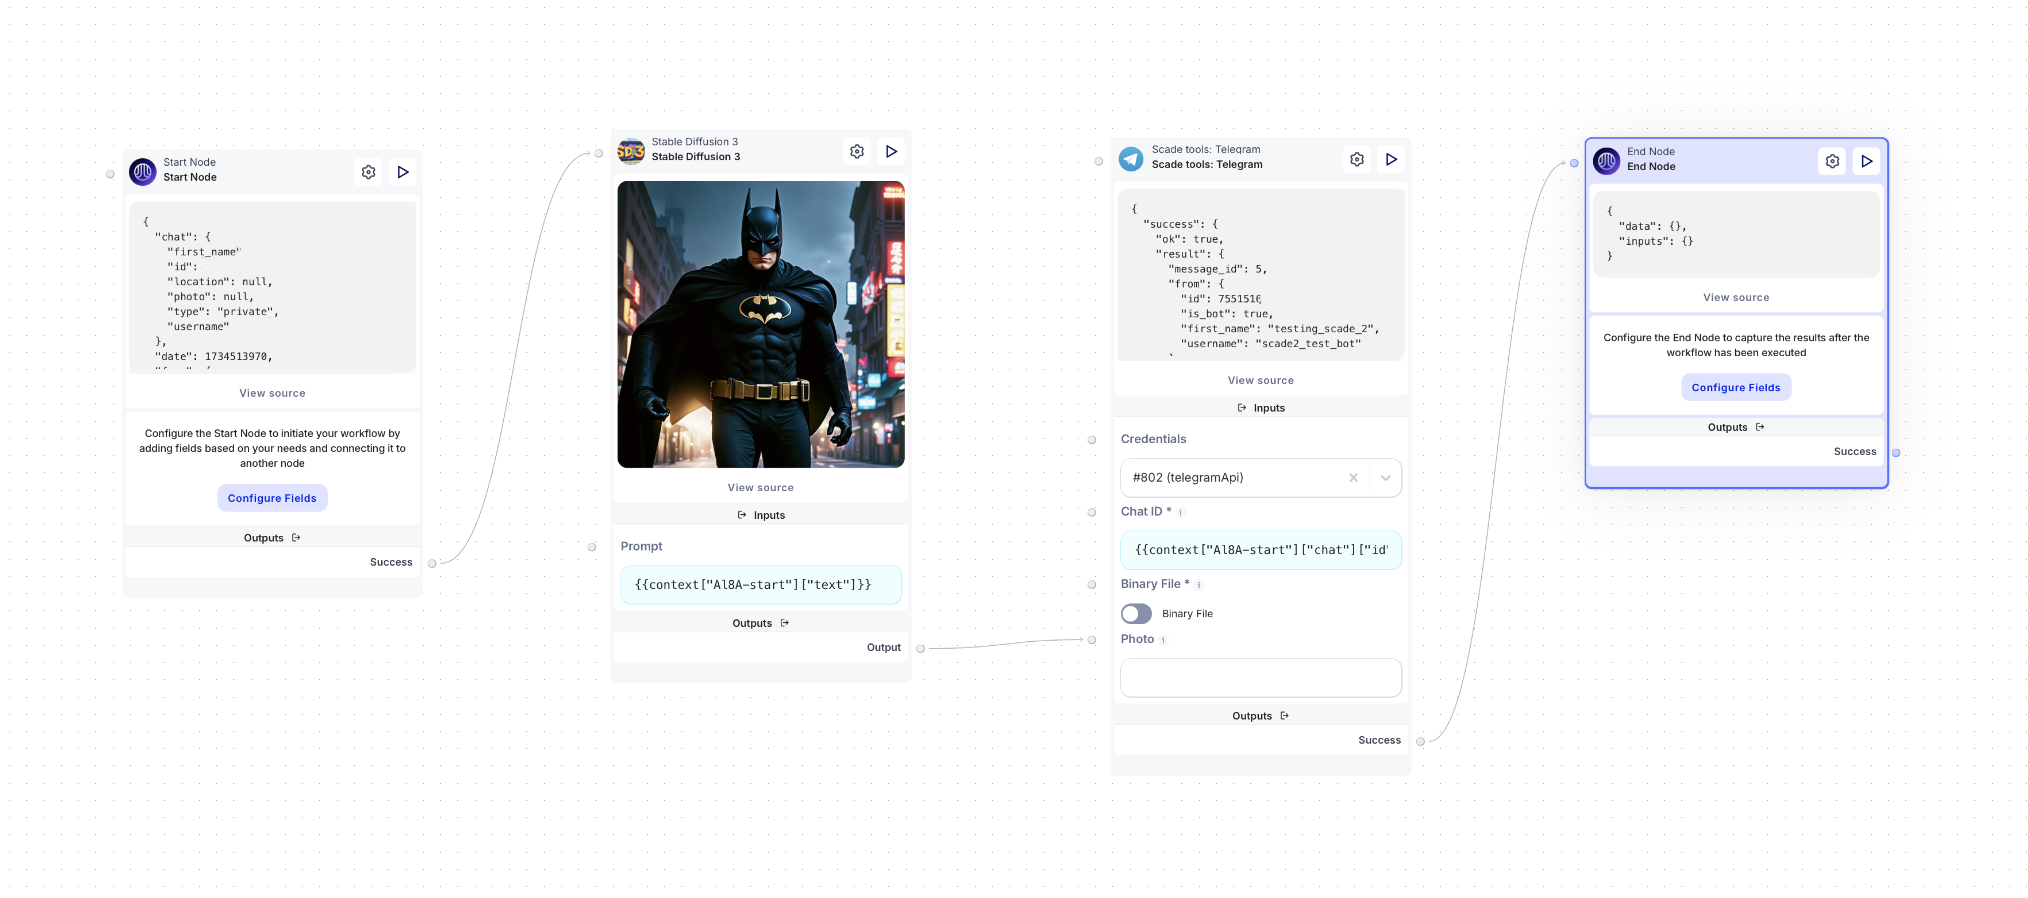
Next, go back to the workflow, and you should see this result.
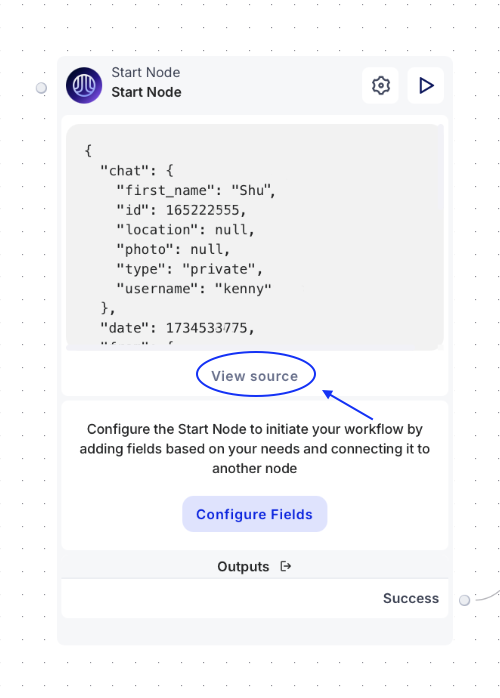
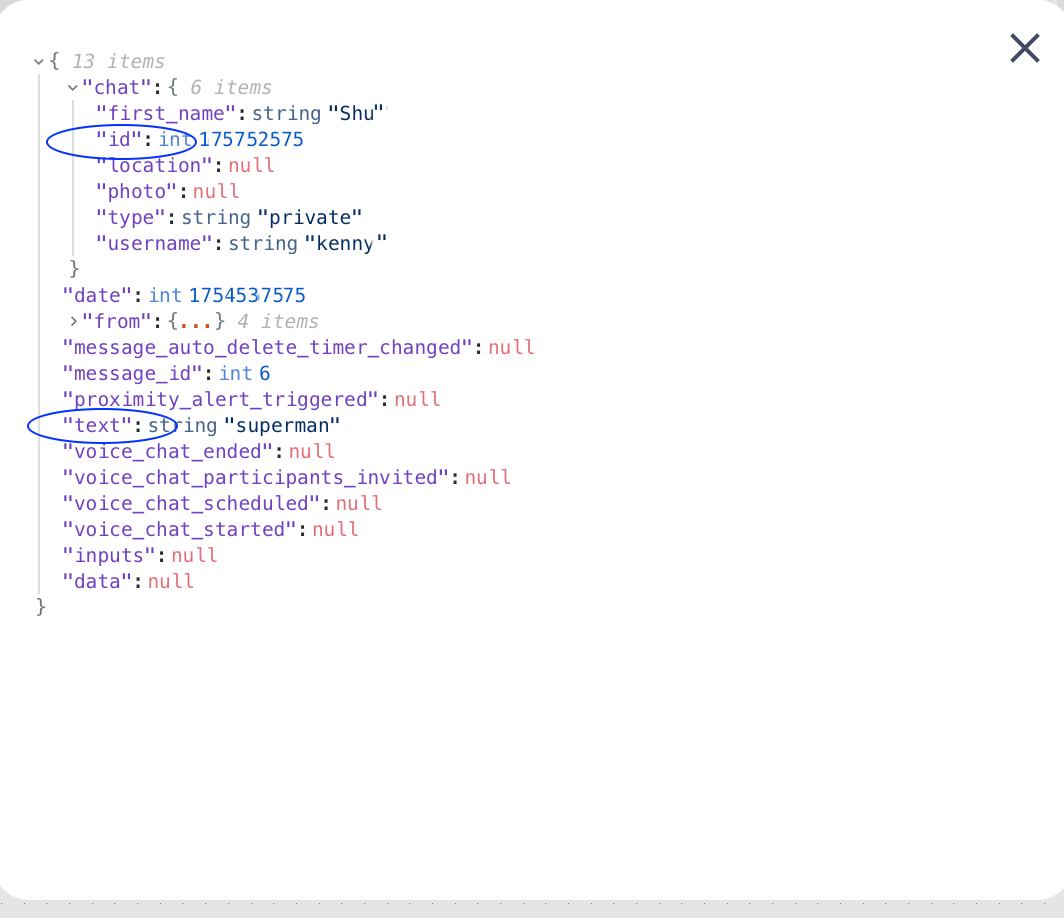
If you click “View Source” on the start node, you can see the complete data received. For the purposes of our flow, we need the chat.id and text fields.
Step 5: Configure your flow
-
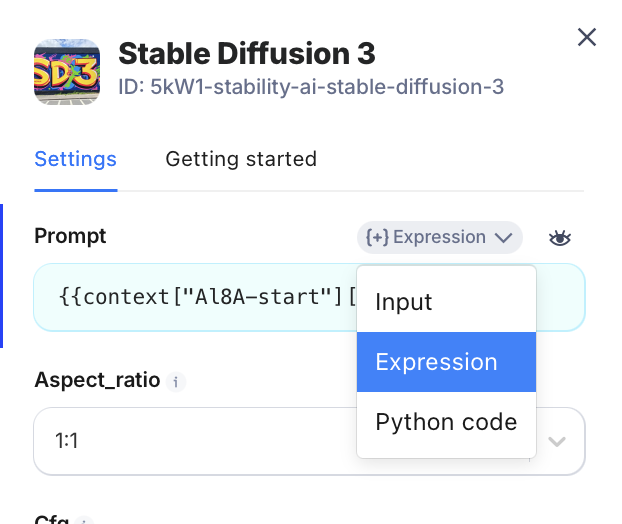
Add your preferred image generation model to the workflow and go to its settings. In the Prompt field, change the type to Expression and enter {{context[“Al8A-start”][“text”]}} from our text node. Click the Test Expression button to verify that the parameter has been added correctly.
-
In the node library look for Scade tools: Telegram node and add it to the canvas.
-
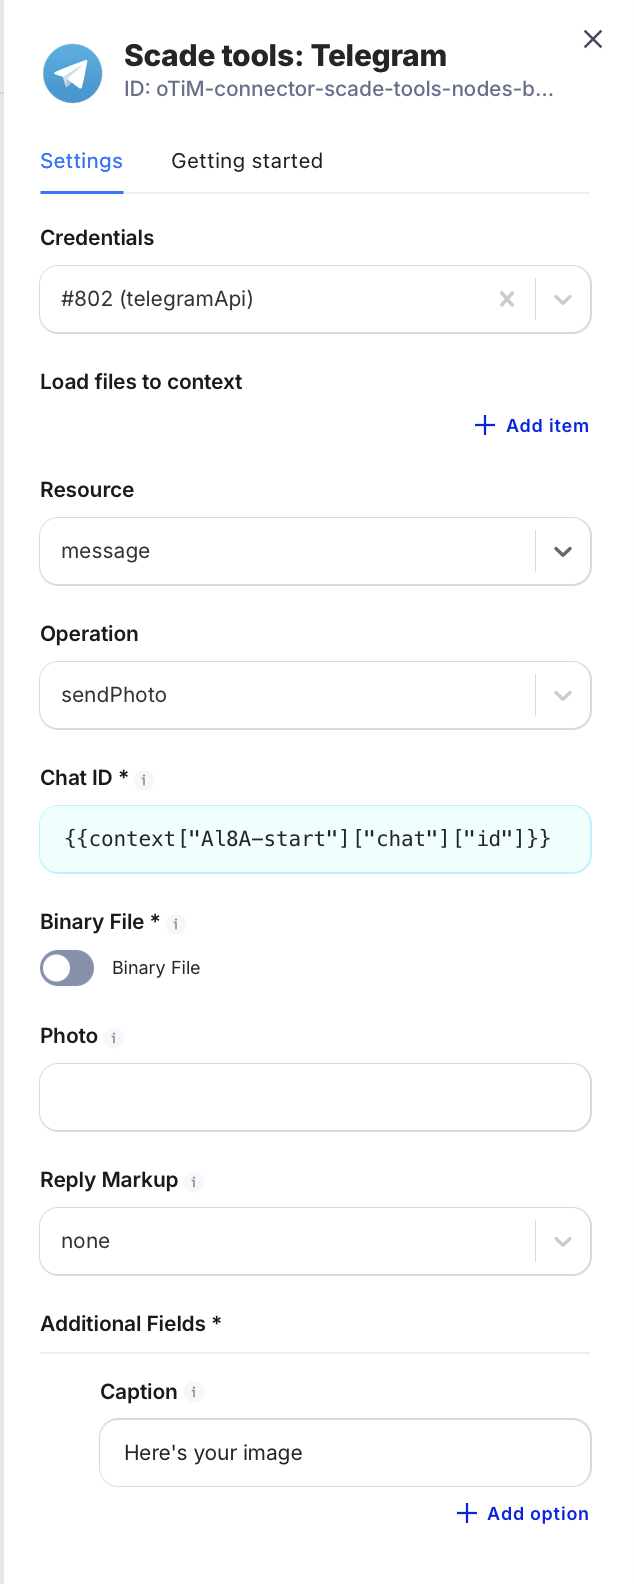
In the Credentials field, select the credentials you added on the Triggers page. Since we’re creating an image-generating bot, choose sendPhoto for the Operation field. For the Chat ID field, change the type to Expression and enter {{context[“Al8A-start”][“chat”][“id”]}}. To make the Photo field appear, toggle the Binary File option twice, then click the eye icon to display it on the node. To add a caption that will appear beneath the photo, click Add Options in the additional fields section and select Caption.
-
Connect the nodes appropriately, ensuring the workflow functions properly, and remove the Input field from the End node.

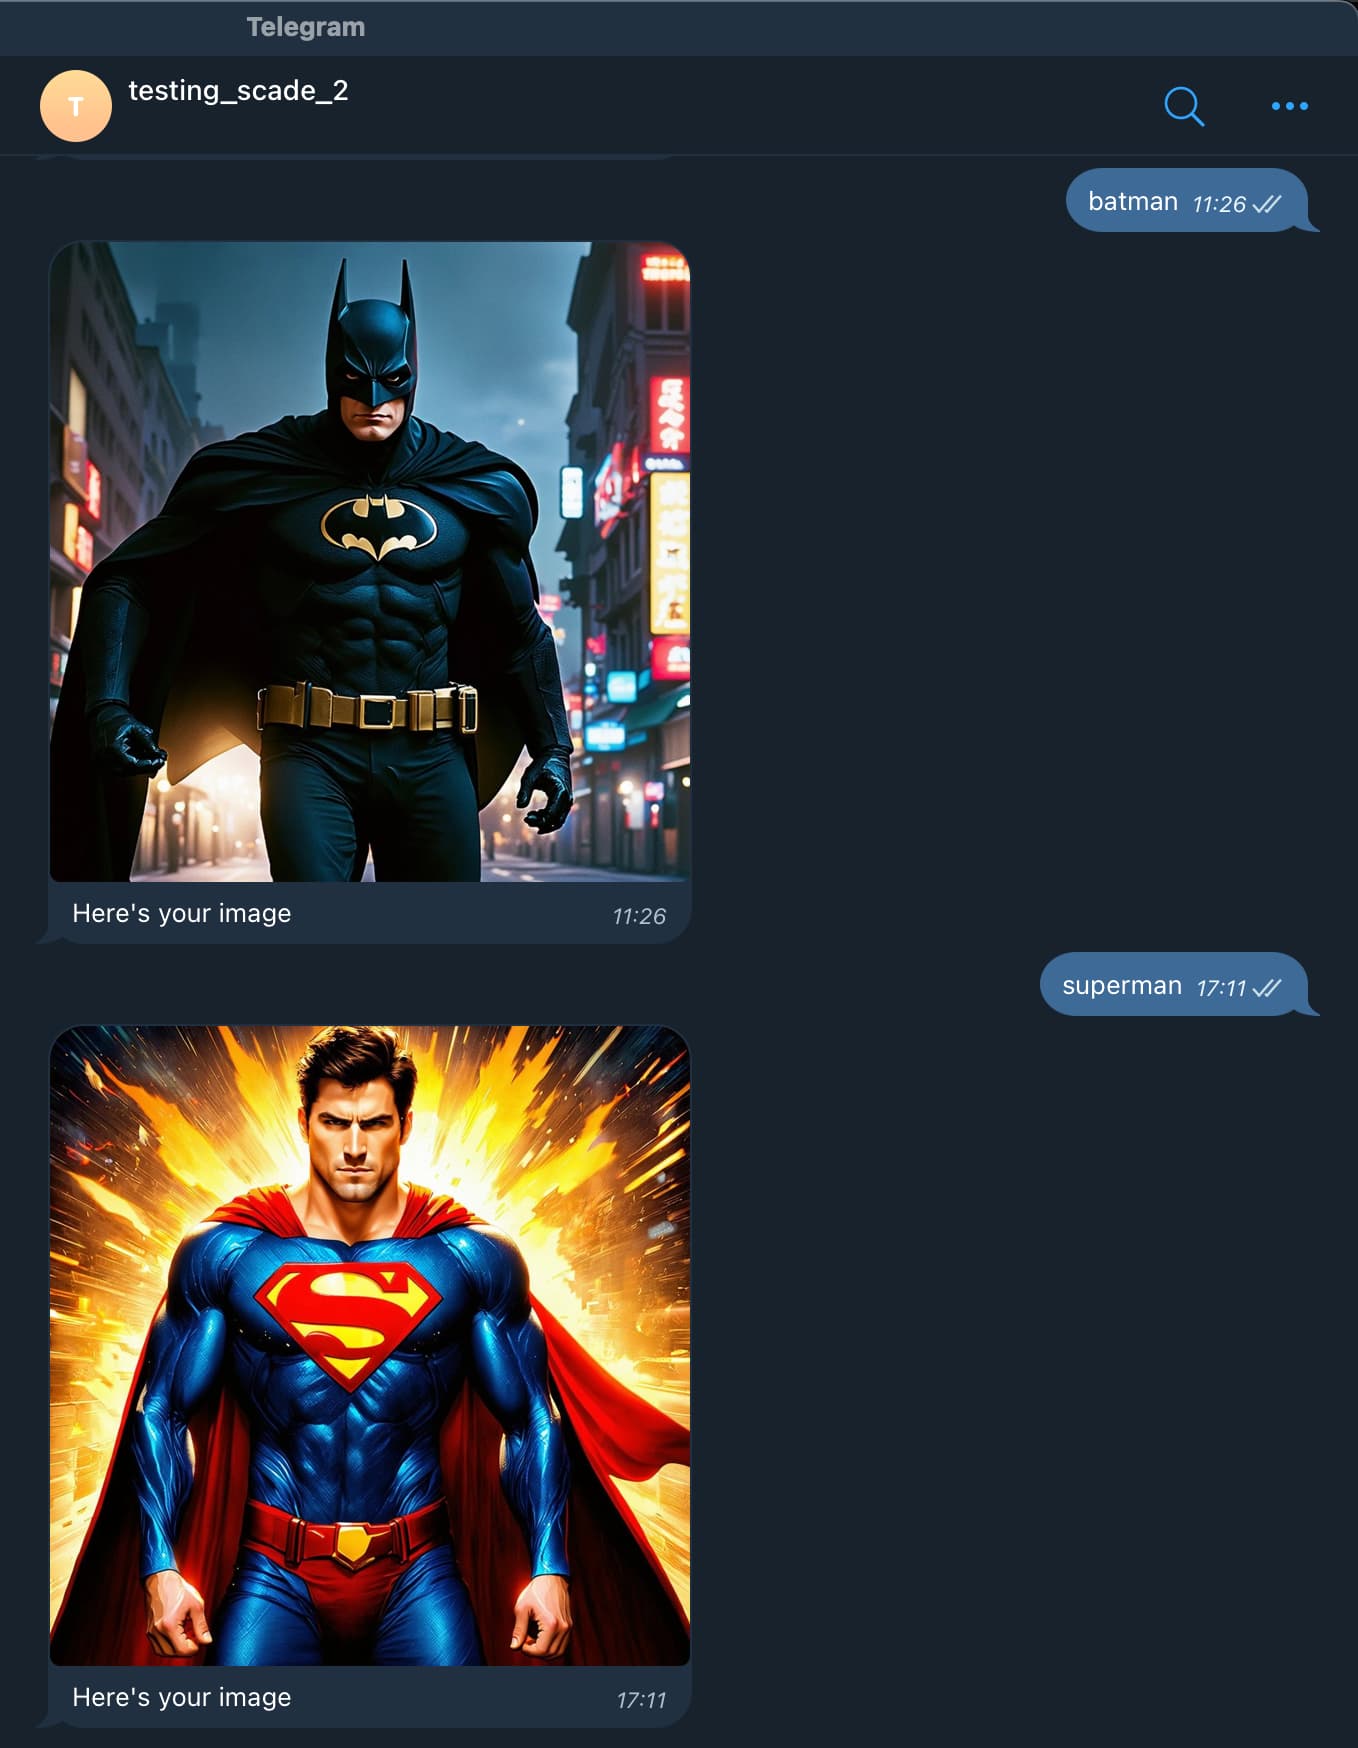
Step 6: Test the bot and get the result
Return to your bot, send a message, wait for the response, and receive your result.