Sketch-to-image template
This guide walks you through using Scade to transform simple sketches into detailed, realistic images. Follow these steps to unlock the full potential of your creativity!
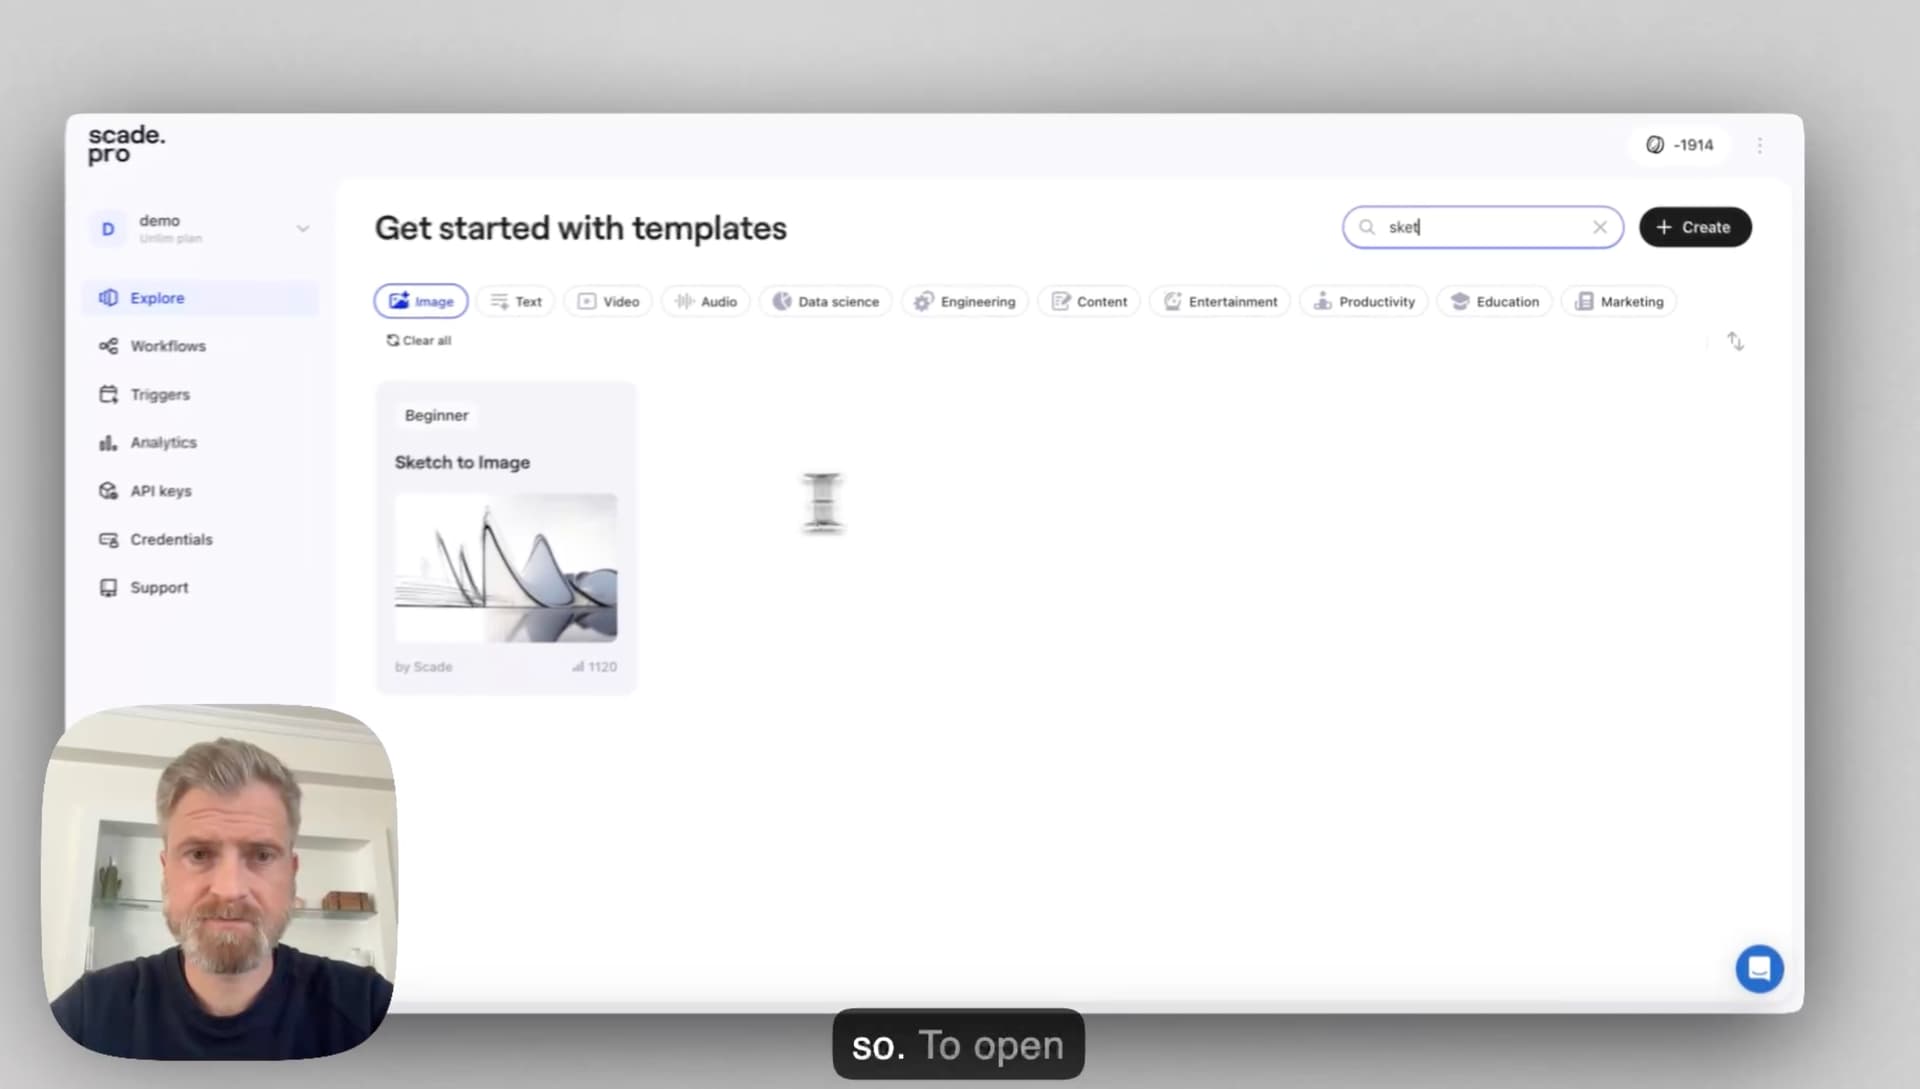
Step 1: Open the template
- Launch Scade and go to the Explore section.
- Use the search bar or tags to locate the template.
- Click the template to load it onto your canvas.
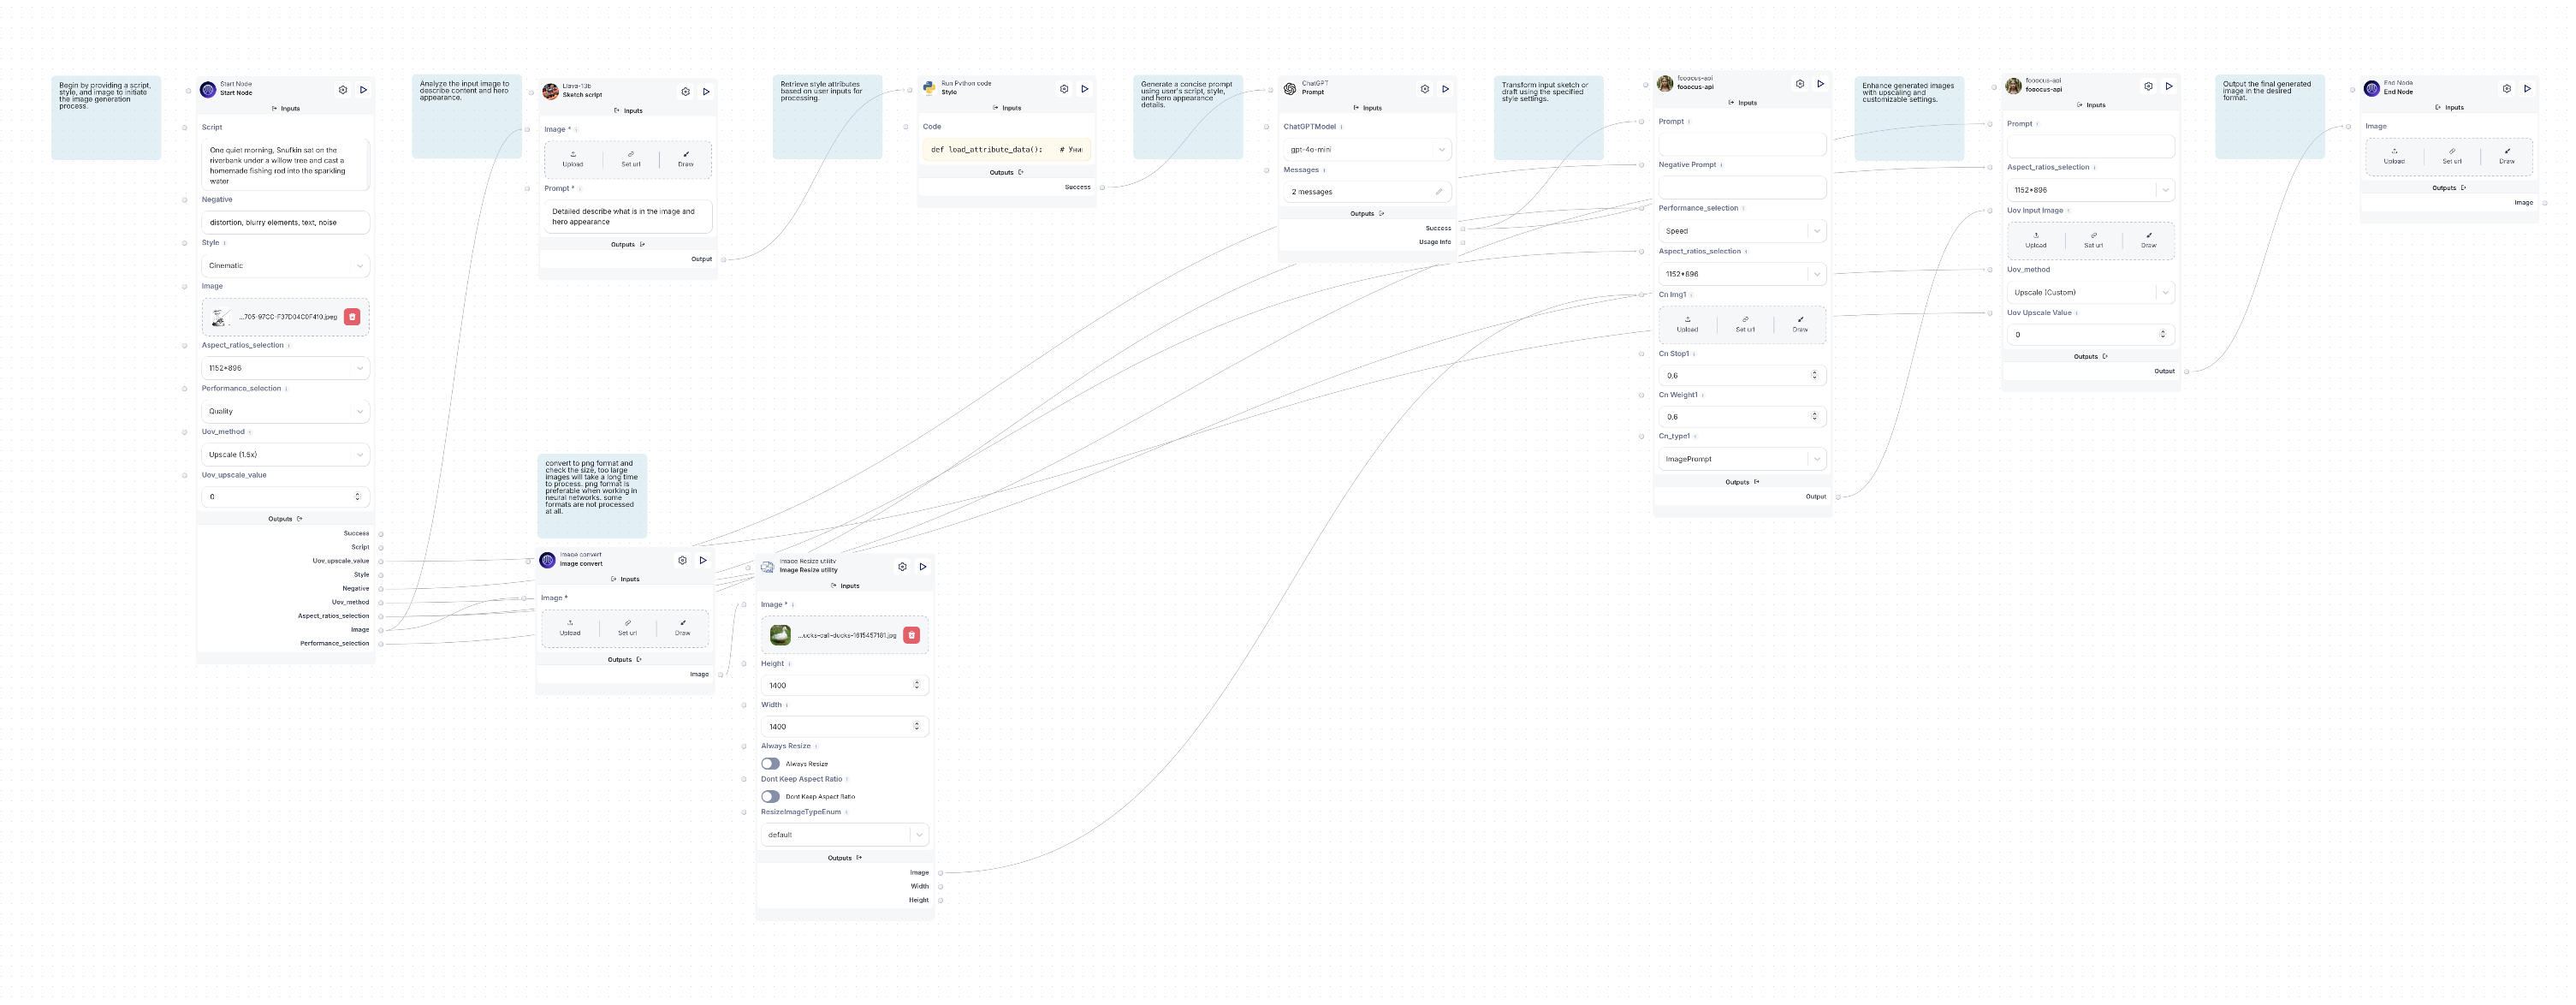
Step 2: Understanding the canvas and nodes
- Identify the nodes on your canvas, you’ll see several blocks, with each representing a different AI models.
- Zoom into a node to view its role. You can customize settings, prompts and connections to other nodes.
- Observe how nodes are linked, where the output of one node flows into the input of the next, creating a seamless process.
- Go to the Start node, as this is where you’ll set up your input data and initial configurations.
Step 3: Configure the template
Step 1: Provide input details
Input details include:
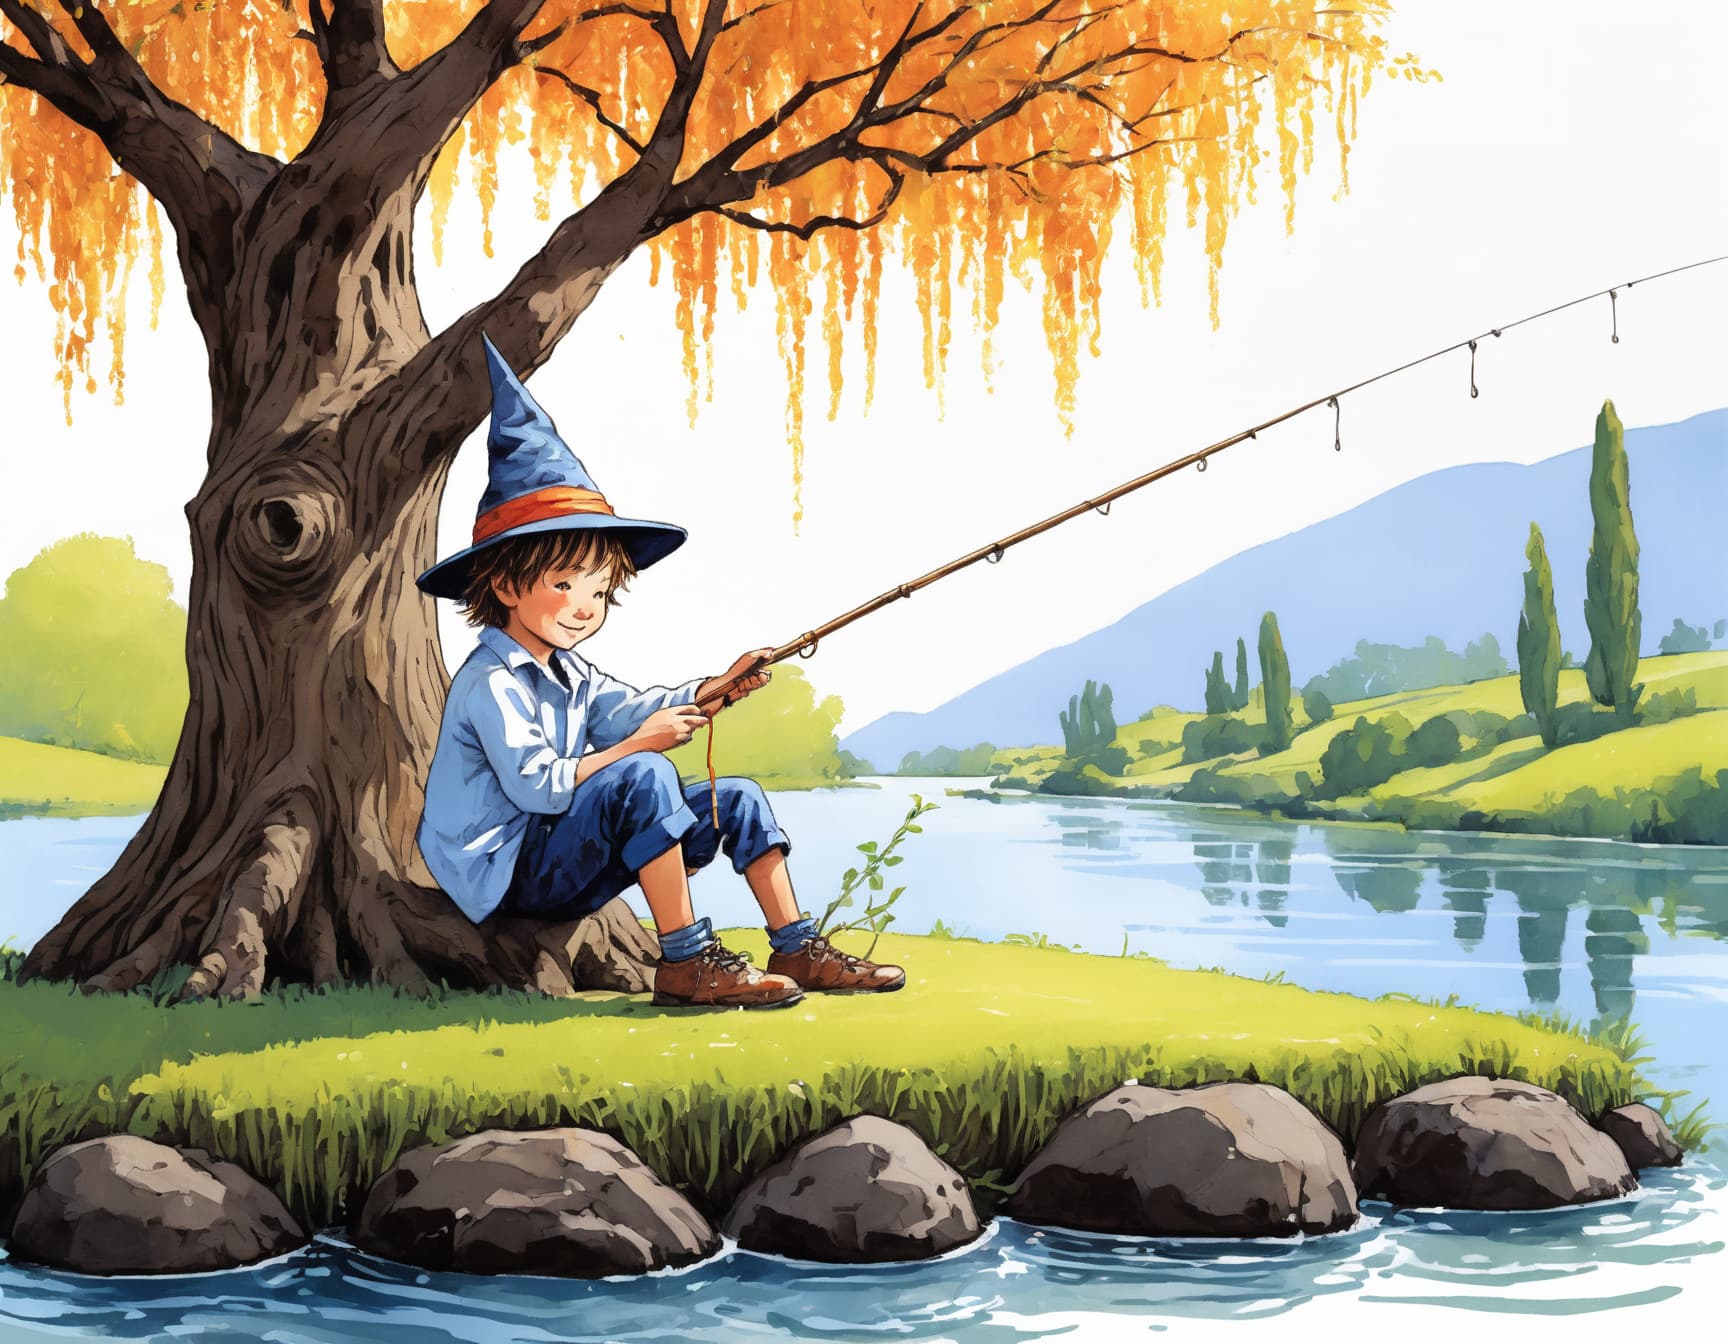
- Script: Description of the scene or concept (e.g., “One quiet morning, Snufkin sat on the riverbank…”).
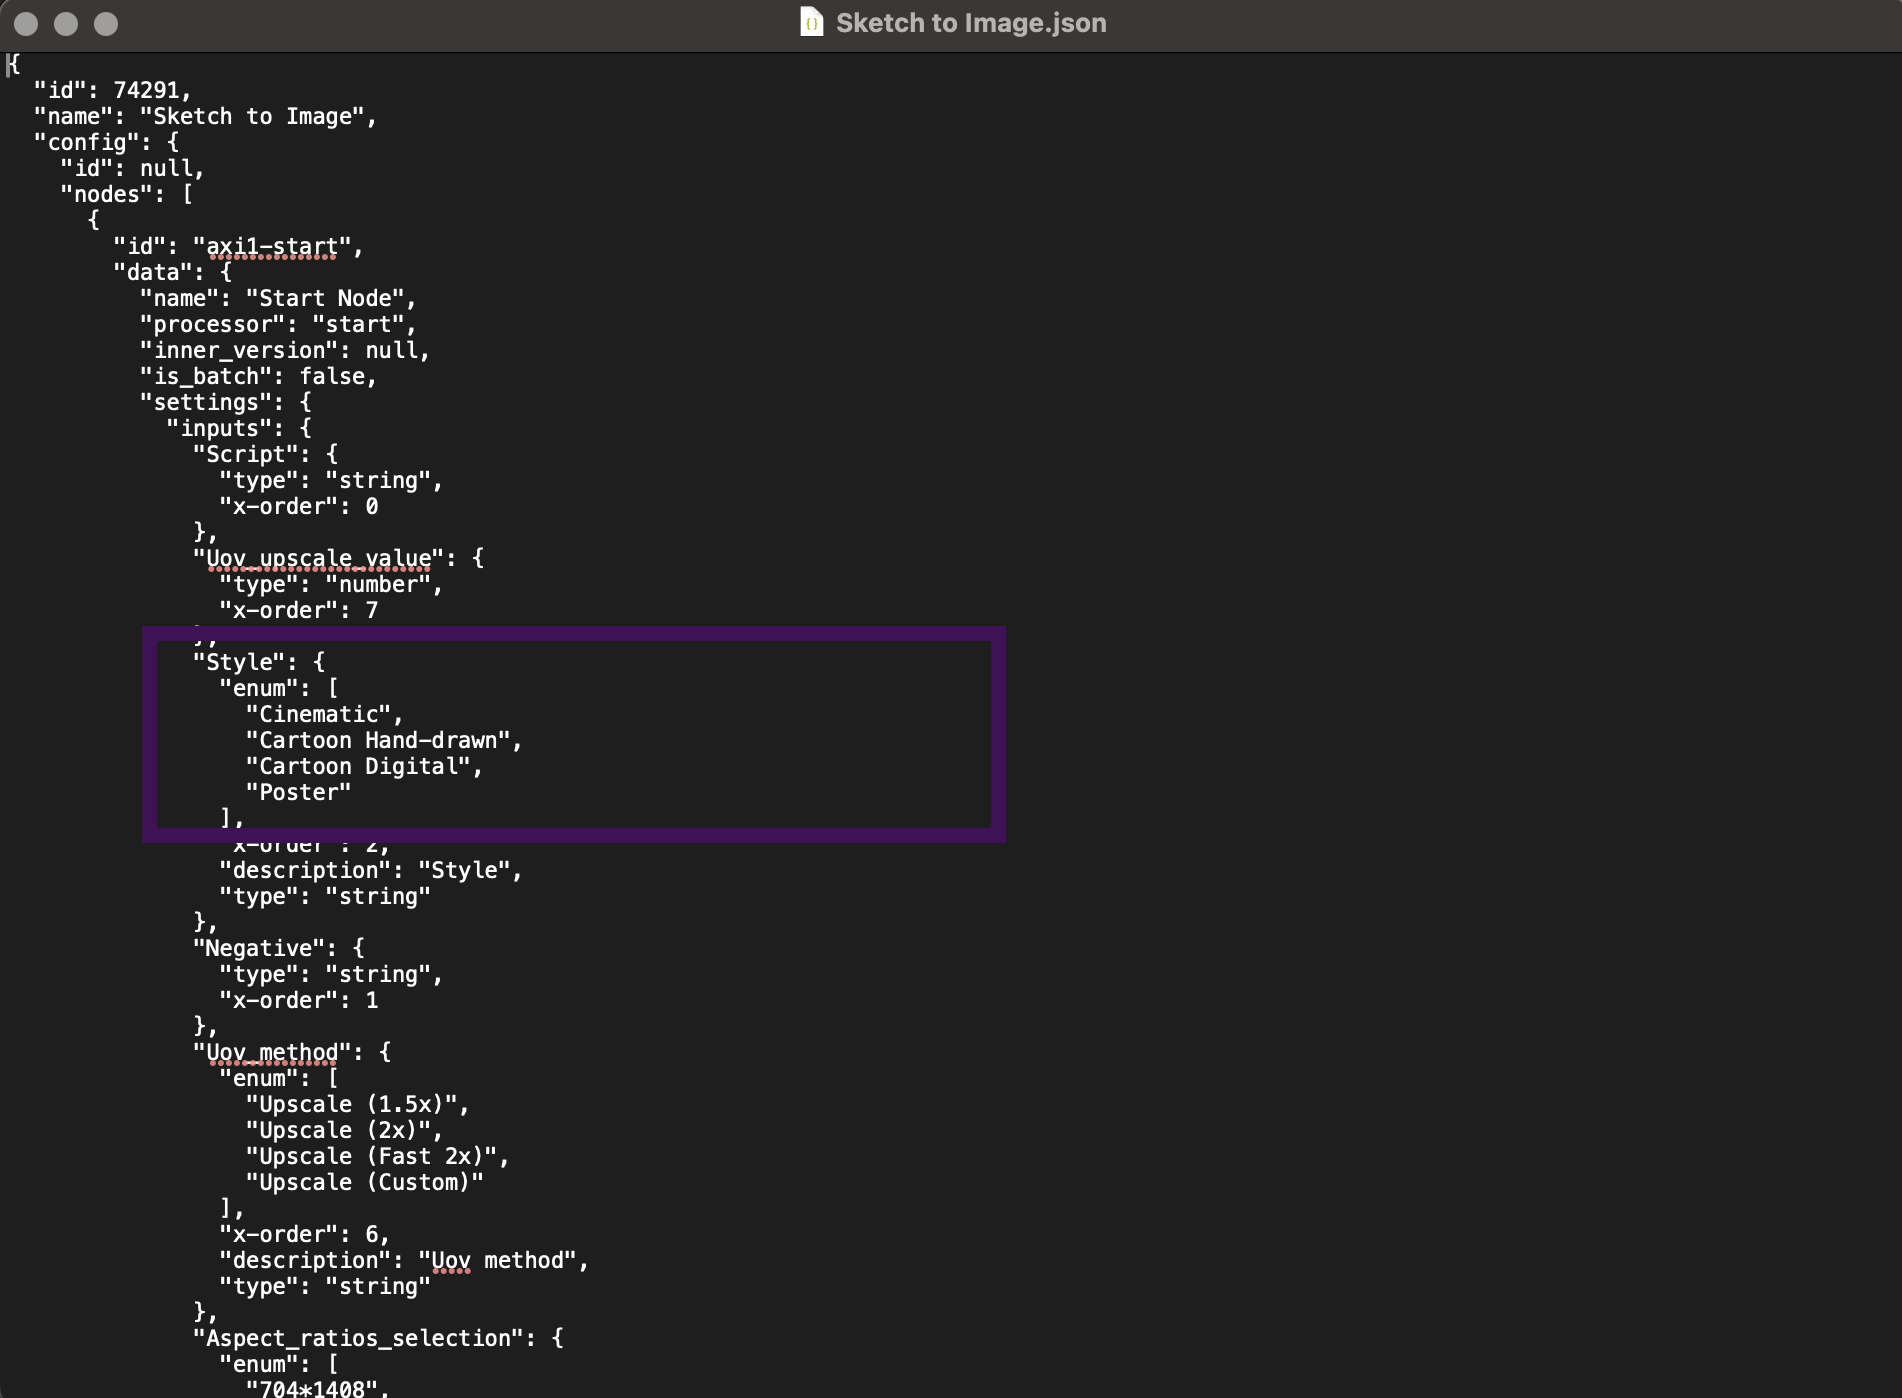
- Style: Choose from options like Cinematic, Cartoon Hand-drawn, Cartoon Digital, or Poster.
- Image: Upload a sketch or image for processing.
- Aspect Ratio, Upscale Method, and Performance Selection: Specify these settings for the desired output quality and resolution.
Step 2: Analyze input image
- The Sketch Script (Llava-13b) Node analyzes the input image to generate a detailed description of the content and main subject (e.g., “hero appearance”).
- This ensures alignment between the input sketch and output requirements.
Step 3: Retrieve style attributes
- The Style (Python) Node retrieves detailed attributes for the selected style.
For example, the Cinematic style includes hyper-realistic details, dramatic lighting, and rich colors.
Step 4: Generate a prompt
- The Prompt (ChatGPT)Node combines the script, style attributes, and hero appearance to create a concise and optimized prompt for image generation.
- The prompt adheres to the required structure and token limits.
Step 5: Transform sketch
- The Fooocus processes the input sketch/image using the generated prompt and specified style.
- This step converts the initial draft into a polished, detailed image.
Step 6: Enhance image quality
- The image undergoes enhancements like upscaling, sharpness adjustments, and refinement to meet the performance selection criteria (e.g., Speed or Quality).
Step 7: Finalize and output
- The final processed image is outputted in the desired format and resolution via the End Node.

Step 4: Enhance the flow
- Build larger flows: Embed the current template into broader, customized flows for unique business needs.
- Add more nodes: Browse the library of AI models and tools on the left to add extra nodes for greater customization.
Step 5: Use analytics and sharing
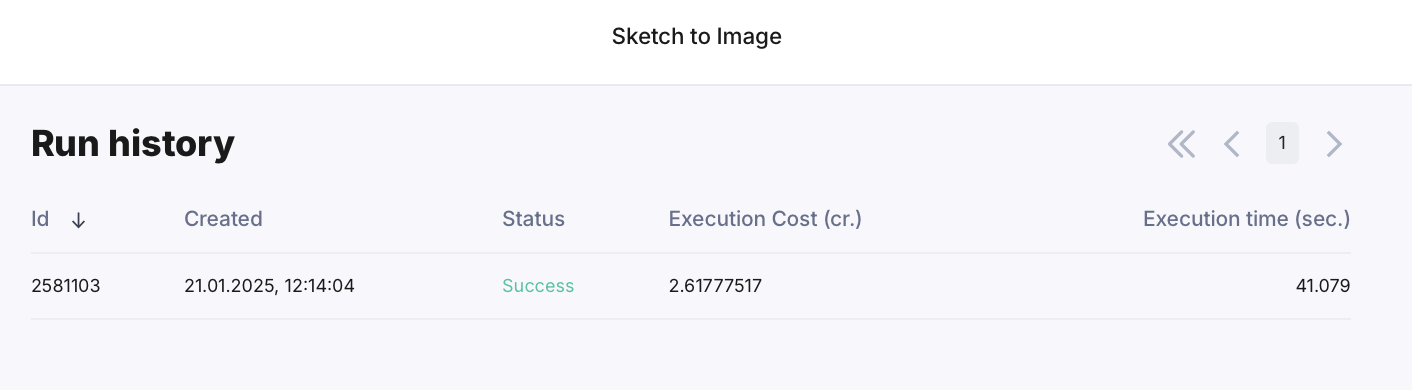
-
View analytics: Click the ‘Analytics’ button in the top left corner to view execution costs and times for each run.
-
Share your flow: Make your flow public by publishing it, or link it to other flows using an API. Read more about Publishing your AI app and the Unified API.
-
Subscription benefits: All models are covered by your Scade subscription, so no extra charges apply.
Need help? Comment below, our team and community are here to help and ensure you get timely support.