Perplexity node gives you easy-to-understand and reliable answers.
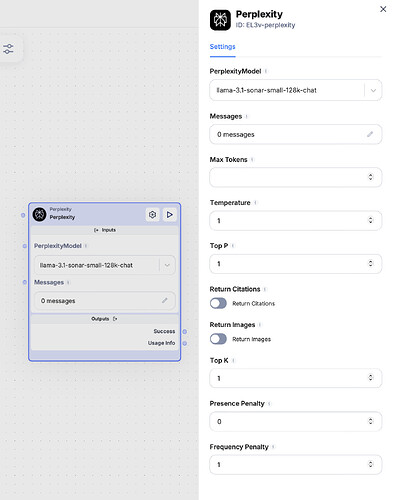
1. Perplexity Model
- Perplexity Model refers to the specific version of the Perplexity language model you’re using. Different models may offer different levels of performance, capabilities, or understanding of certain topics.
- You would specify which model you want to use here, such as
perplexity-1.0.
- You would specify which model you want to use here, such as
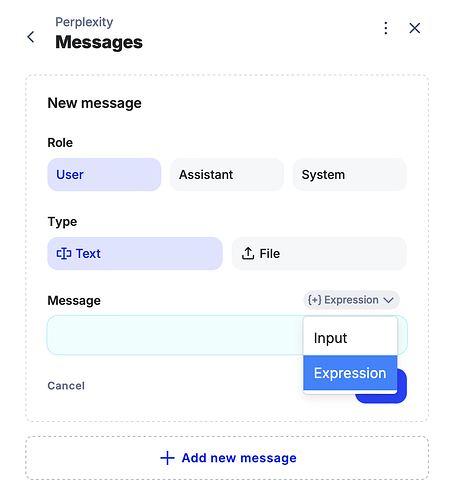
2. Messages: User, Assistant, System
These messages follow the same pattern as in the ChatGPT API:
- User: This is the message from the user, which contains the prompt or question you’re asking the assistant.
- Assistant: This is the response generated by the model. It will always be returned by the Perplexity API based on the user’s input.
- System: Similar to the ChatGPT system role, this is where you can provide instructions on how the assistant should behave or the tone it should take.
3. Max Tokens
- Max Tokens specifies the maximum number of tokens (pieces of words) the model can generate in the response. This helps control the length of the response.
- This will limit the assistant’s response to 100 tokens (approximately equivalent to 75-100 words, but it depends on the language used).
4. Temperature
- Temperature controls how creative or random the model’s responses are.
- Higher values (e.g., 0.8 to 1): Responses will be more varied and creative.
- Lower values (e.g., 0.1 to 0.3): Responses will be more focused and deterministic.
- A temperature of 0.7 allows some creativity without being too random.
5. Top P
- Top P (nucleus sampling) controls how many different possibilities the model considers when generating a response.
- Top P = 1: The model will consider all possible words.
- Top P = 0.5: The model will only consider the top 50% of the most likely next words.
- With 0.9, the model will consider a wide range of possible words but still focus mostly on likely ones.
6. Return Citations
- Return Citations controls whether the model returns sources or citations for the information it provides.
- Setting it to true means the response will include references or citations to sources, which is useful for fact-based answers.
7. Return Images
- Return Images controls whether the model should return images related to the generated response. If enabled, the model will attempt to fetch relevant images along with the text.
- Setting it to true will attempt to include images with the response.
8. Top K
- Top K controls how many of the top possible next tokens (words or parts of words) the model considers when generating a response.
- Higher K values mean the model will consider more options, leading to more diverse responses.
- Setting top_k to 50 means the model will look at the top 50 most likely words or tokens to choose from at each step.
9. Presence Penalty
- Presence Penalty encourages the model to talk about new topics. A higher presence penalty makes the model less likely to repeat subjects it’s already mentioned.
- A value of 0.6 means the model will avoid repeating the same topics and will prefer introducing new ideas.
10. Frequency Penalty
- Frequency Penalty reduces the chance that the model will repeat the same exact words too frequently within a response.
- A value of 0.5 will discourage the model from using the same words too often, making the response more diverse.
Let’s explore how the Perplexity node functions using an example where it assists in essay writing.
Setting Up a Flow for Essay Writing Assistance in Scade
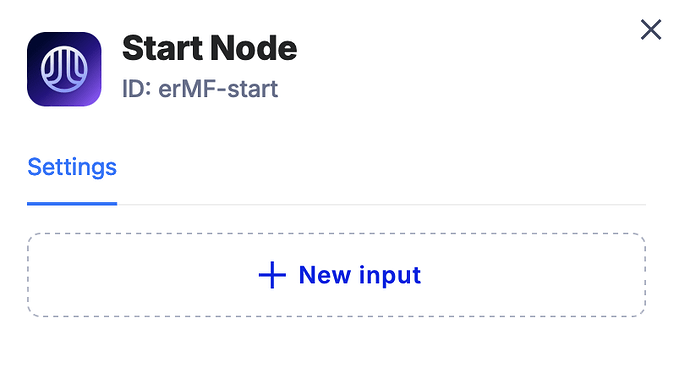
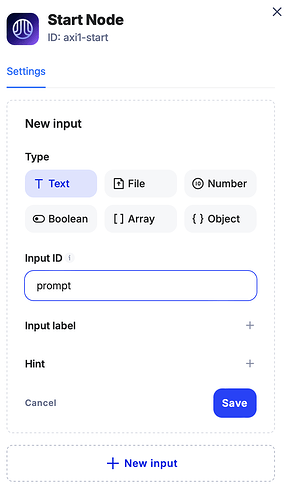
1. Creating the Input Text Field (Start Node Configuration)
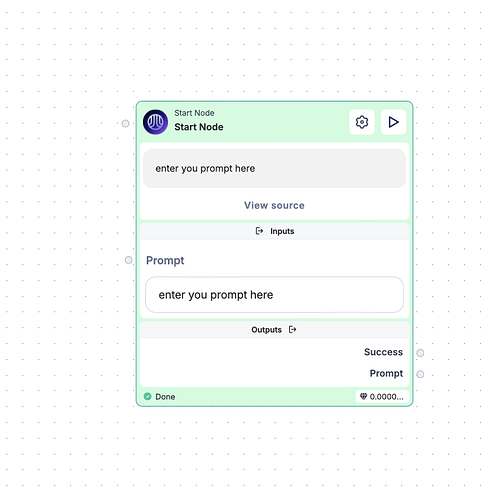
• Begin by setting up the Start Node to collect user input. In the Start Node’s configuration, create an input text field where the user can type a topic or question.
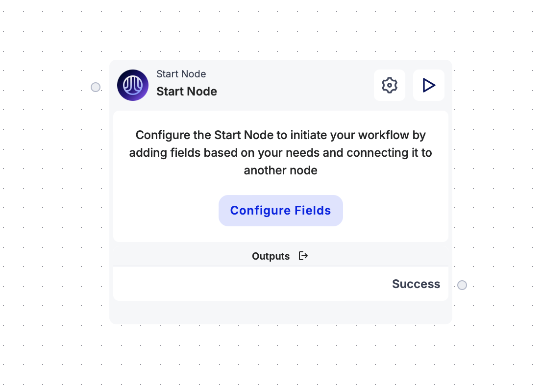
• The node will initiate only when the Play button is pressed, so ensure that the Start Node is set to trigger upon this action.
2. Adding the Perplexity Node
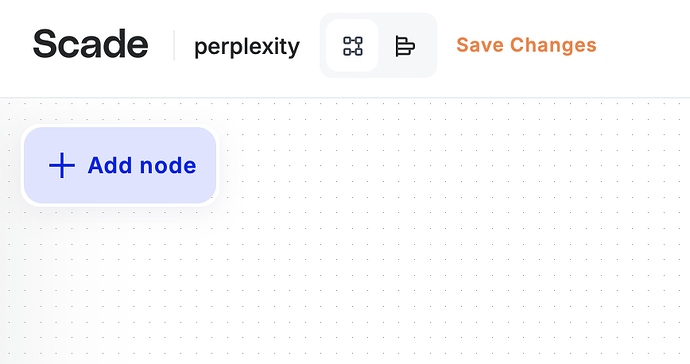
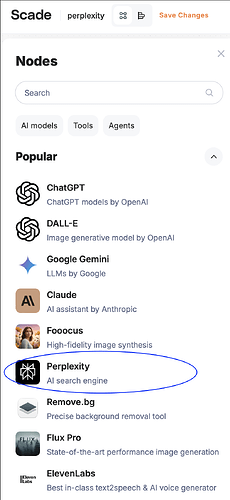
• If the node menu is closed, click on the “+ Add Node” button in the top-left corner of the screen to open it and find the Perplexity Node.
• To add a Perplexity Node, either drag it into the workspace or click on it.
The Perplexity Node will assist in gathering additional information and preparing for essay writing.
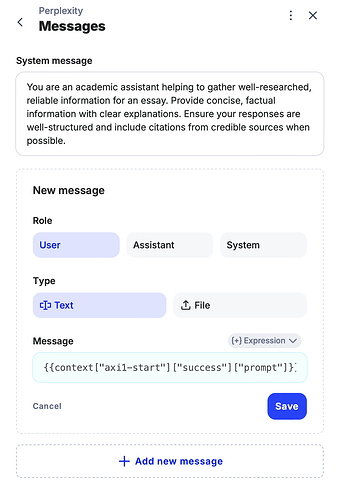
3. Configuring System Role and User Message
System Role Configuration:
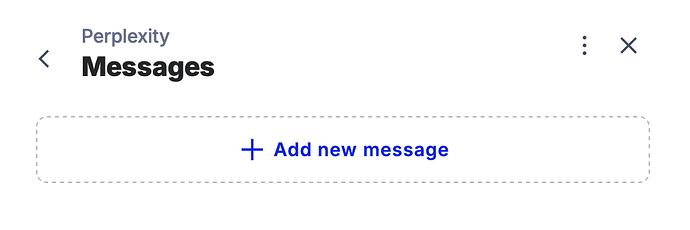
- Click on the pen icon.
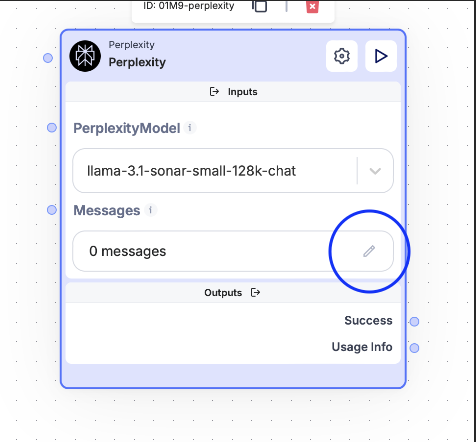
- Select “+ Add New Message”.
-
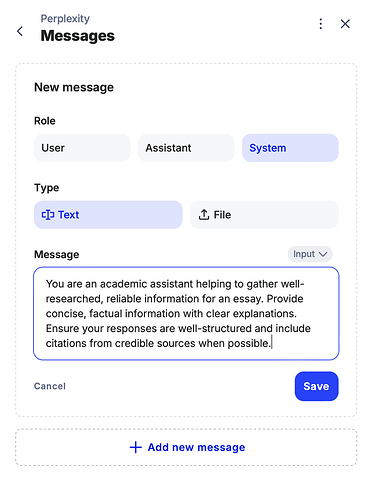
Change the message type to System.
-
Define the system role (e.g., providing guidance on essay writing or gathering information).
- Once done, save your changes to ensure the system role is properly set.
User Message Configuration:
• Next, configure the User Message:
-
Navigate to the Add New Message settings.
-
Ensure the role remains as User.
-
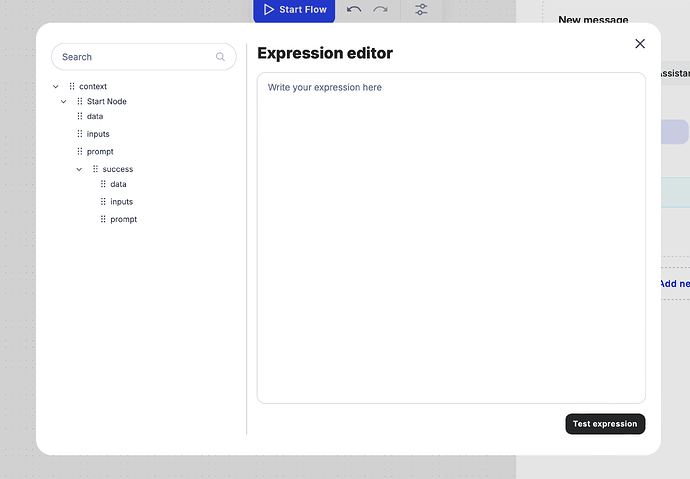
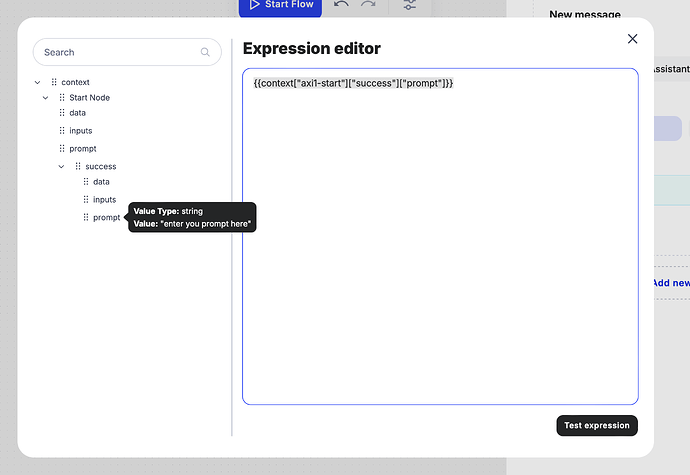
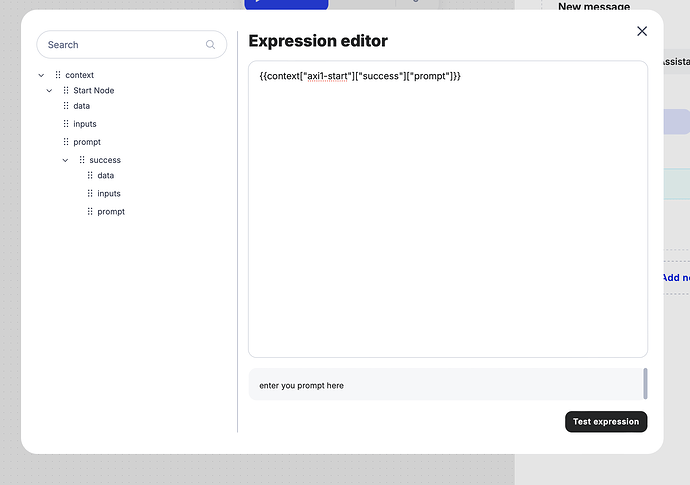
Since the Perplexity Node uses a specific syntax, you’ll need to connect the Start Node’s input to this node using an expression.
- Locate the result of the input from the Start Node on the left panel and drag it to the right panel to link it with the User Message.
- If needed, verify the expression by using the “Test Expression” feature to ensure it’s functioning correctly.
- Don’t forget to save your configuration!
4. Adding and Configuring the ChatGPT Node
Now, add the ChatGPT Node to your flow. This node will handle generating the essay based on the user’s topic.
For configuring the ChatGPT node, follow the instructions here.
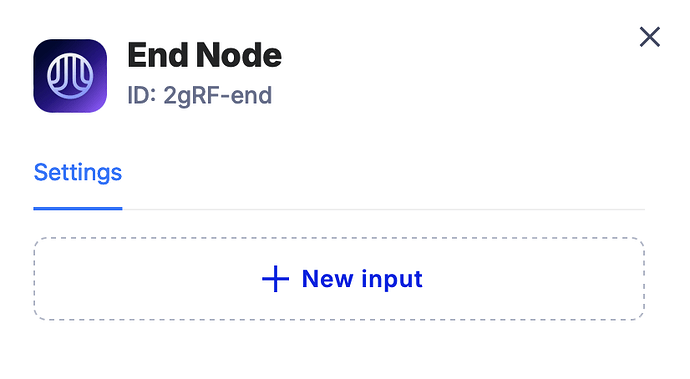
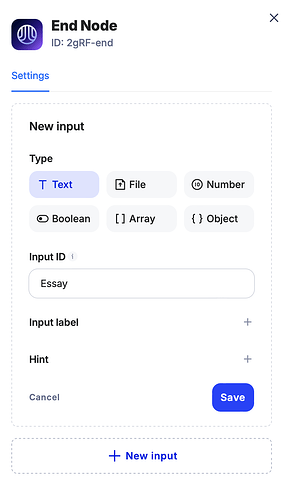
5. Configuring the End Node
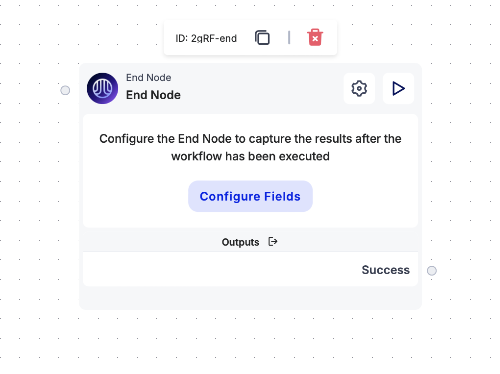
• In the End Node, add a result text field that will display the essay generated by ChatGPT.
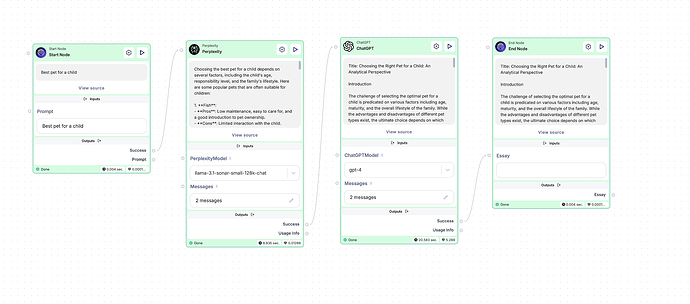
6. Connecting the Nodes
With all nodes configured, it’s time to link them together to form the flow:
-
Connect the Start Node to the Perplexity Node by dragging the success point of the Start Node to the Perplexity Node’s starting point.
-
Connect the Perplexity Node’s success point to the ChatGPT Node’s starting point.
-
Finally, connect the ChatGPT Node’s success point to the End Node.
7. Testing the Flow
Once the flow is configured, it’s time to test it:
-
Enter a topic into the input field in the Start Node.
-
Press Start Flow at the top of the page to initiate the process.
-
The flow should run through the nodes, gather information, generate an essay, and display it in the result field of the End Node.
And That’s It!
Your flow is now set up and ready to assist with essay writing. Simply type a topic, start the flow, and see the magic happen.
