Follow these steps to get started building your first AI-powered workflow.
Main dashboard overview
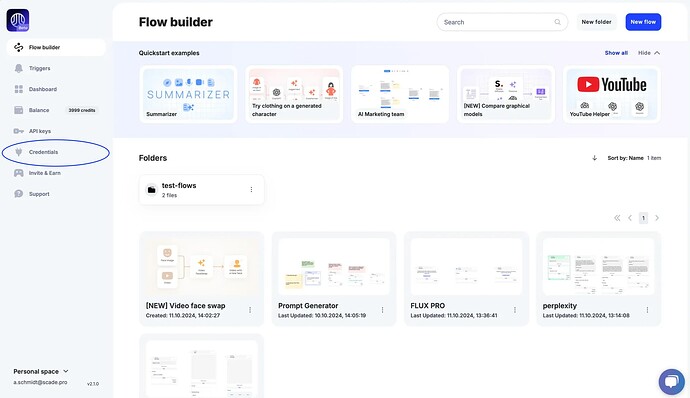
When you log in to Scade, you’ll start with the dashboard. Here’s what you’ll find:
- Templates: At the top, you’ll see a range of pre-made templates that you can use to jumpstart your project.
- Folders: Below the templates, you’ll find folders you’ve created to keep your flows organized.
- Unfoldered flows: All flows that are not sorted into folders will appear below the folder section.
From the left menu, you may want to explore the Credentials section. If you already have an account on another platform, you can add your data here and use the credit you have acquired there.
Starting a new flow
To start creating a new flow, follow these steps:
- Click the “New Flow” button: You’ll find this button easily on the dashboard.
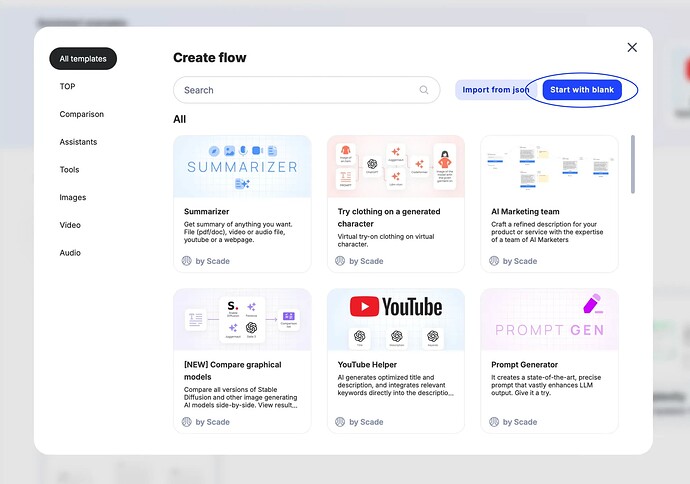
- Choose a template or Start fresh:
-
Select from ready-made templates if one fits your needs.
-
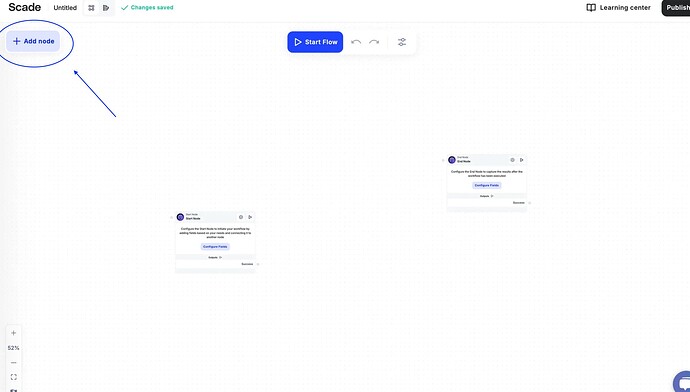
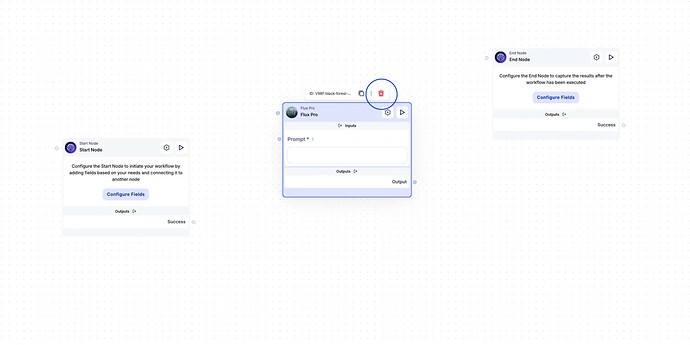
If not, click “Start with blank”. This will open a canvas with two nodes: a Start node and an End node. These nodes are essential for data transfer and capturing the final result.
-
Adding and configuring nodes
In this example, we’ll be generating an image. Follow these steps to add and configure nodes:
-
Add a node:
-
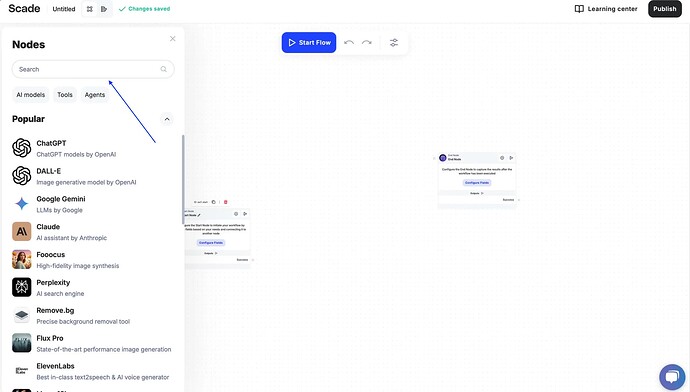
Click “Add node” and a list of popular nodes will appear.
-
If you can’t find the model you need, type its name into the search bar.
-
To add the model, either drag it onto the canvas or simply click on it.
-
-
Delete a node:
-
Click the trash can icon to remove a node.
-
-
Node configuration:
-
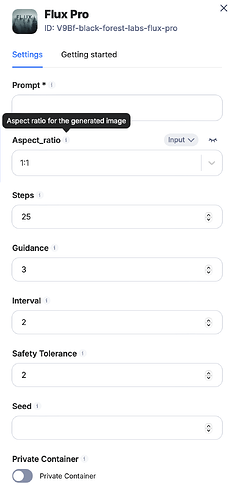
Each node has default fields necessary for its operation. To add more parameters, click the gear icon to configure the required fields.
-
Each field has an information icon that provides more details about that field.
-
Connecting nodes
- Configure the Start node:
-
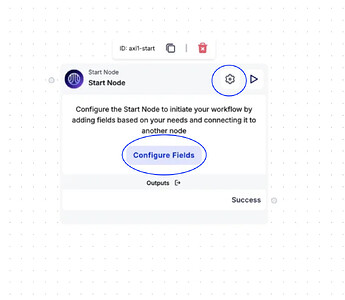
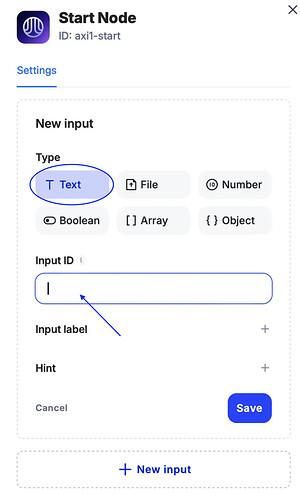
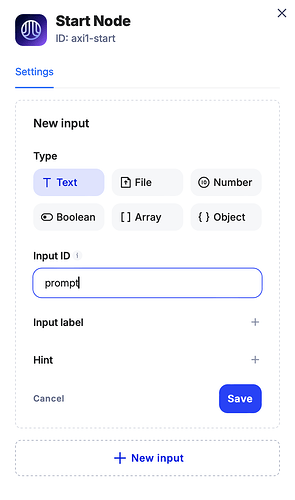
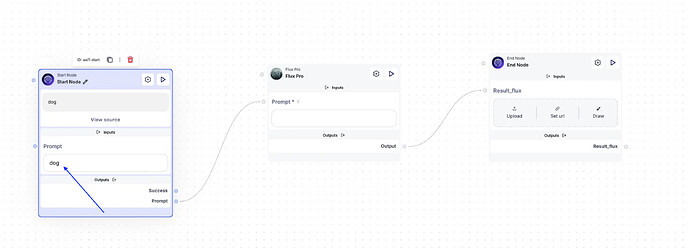
Click on the Configure fields or gear icon on the Start node and select “Text” as your Input Type.
-
In the Input ID field, type “prompt”, then click Save.
-
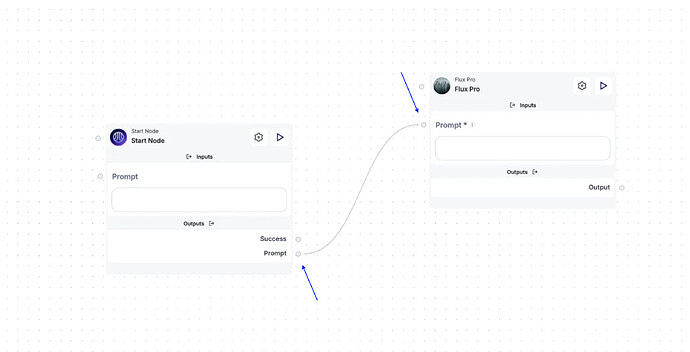
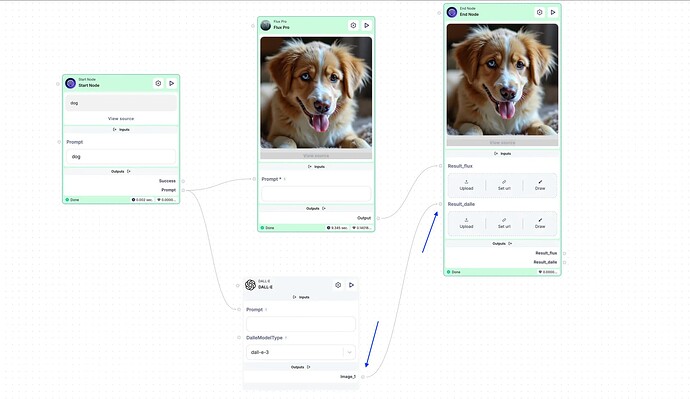
Connect the prompt dot of the Start node to the prompt field of a Flux Pro node by linking the two.
-
Configure the End node:
-
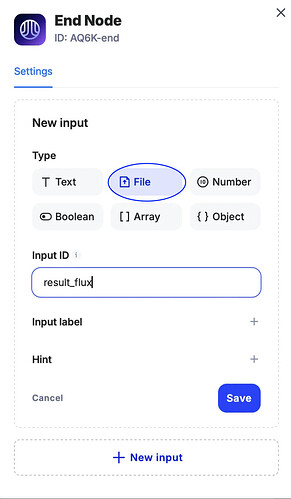
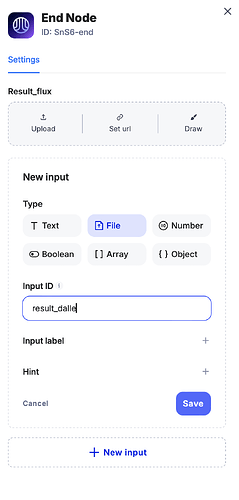
Click on the Configure fields or gear icon and then click “New input”.
-
Since we are generating an image, select “File” as our Input Type and name the file “result flux”.
-
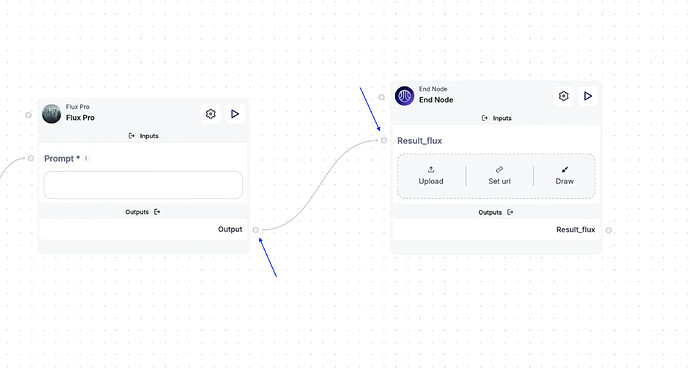
Connect the output from the Flux node with the End node result to display the image.
Running the flow
-
Input data: Enter the word “dog” in the prompt field to generate an image of a dog.
-
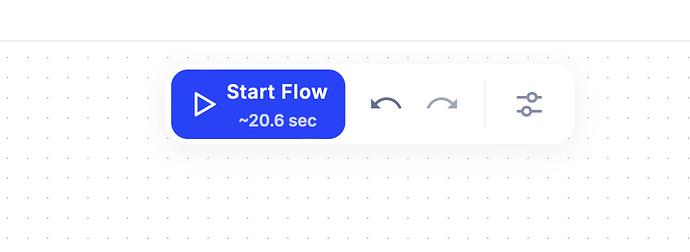
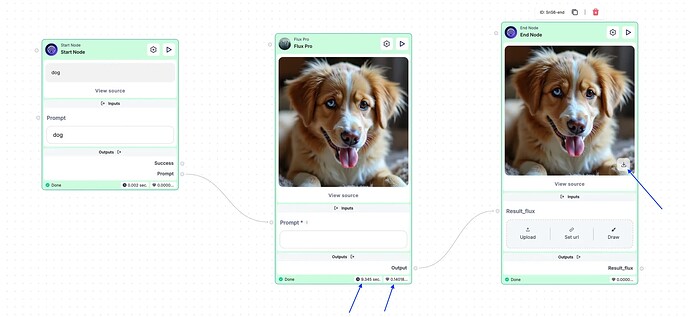
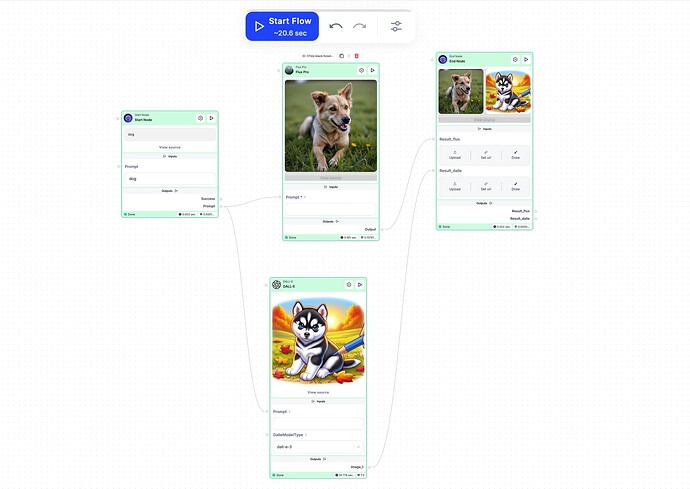
Run the flow: Click the blue “Start Flow” button located on top of the page. When the process is successful, the node will light up green. You can also view the time spent and credits used at the bottom of each node.
-
View results: Download the result by clicking the arrow icon on the image in the end node.
Advanced workflow
To explore more advanced options using starting and End nodes, follow these steps to add another image generator node:
-
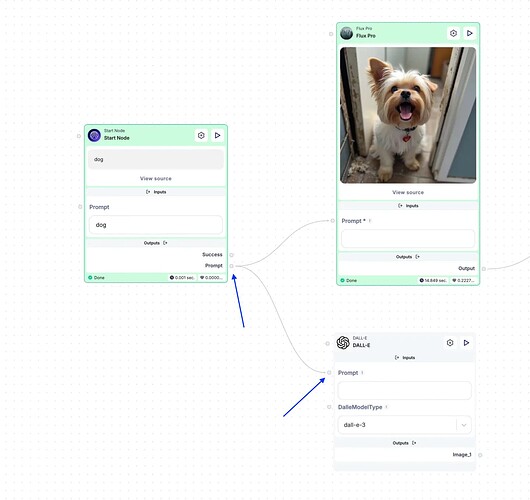
Add another image generator: Select this new node DALL-E. It already has default parameters like Prompt and Model. Select the dall-e-3 for better results.
-
Connect the fields: Connect the prompt field of the Start node to the prompt field of the new DALL-E node.
-
Create another field in the End node to capture the final result. Select “File” as the Input Type, then enter “result dalle” in the Input ID and save the configuration.
-
Connect the DALL-E node to its result in the End node.
-
Run the flow: Both results will appear in the End node after processing. Download them as needed.
Additional features
-
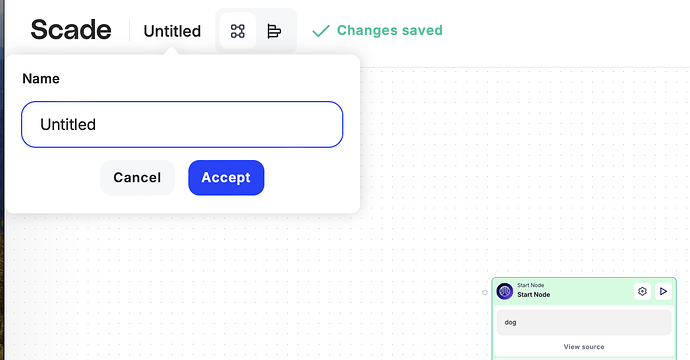
Rename flow: In the upper left corner, you can rename the flow and view run statistics, such as node ID, launch time, status, credits used, and time spent.
-
API requests: The node ID will be crucial for API requests, which will be covered in another tutorial.
By following these steps, you’ll be able to create and run your own flows efficiently in Scade. Happy building!
