Compare graphical models template
This guide helps you navigate Scade to compare various AI models for image generation. Let’s dive into the process to efficiently evaluate and pick the best model for your project.
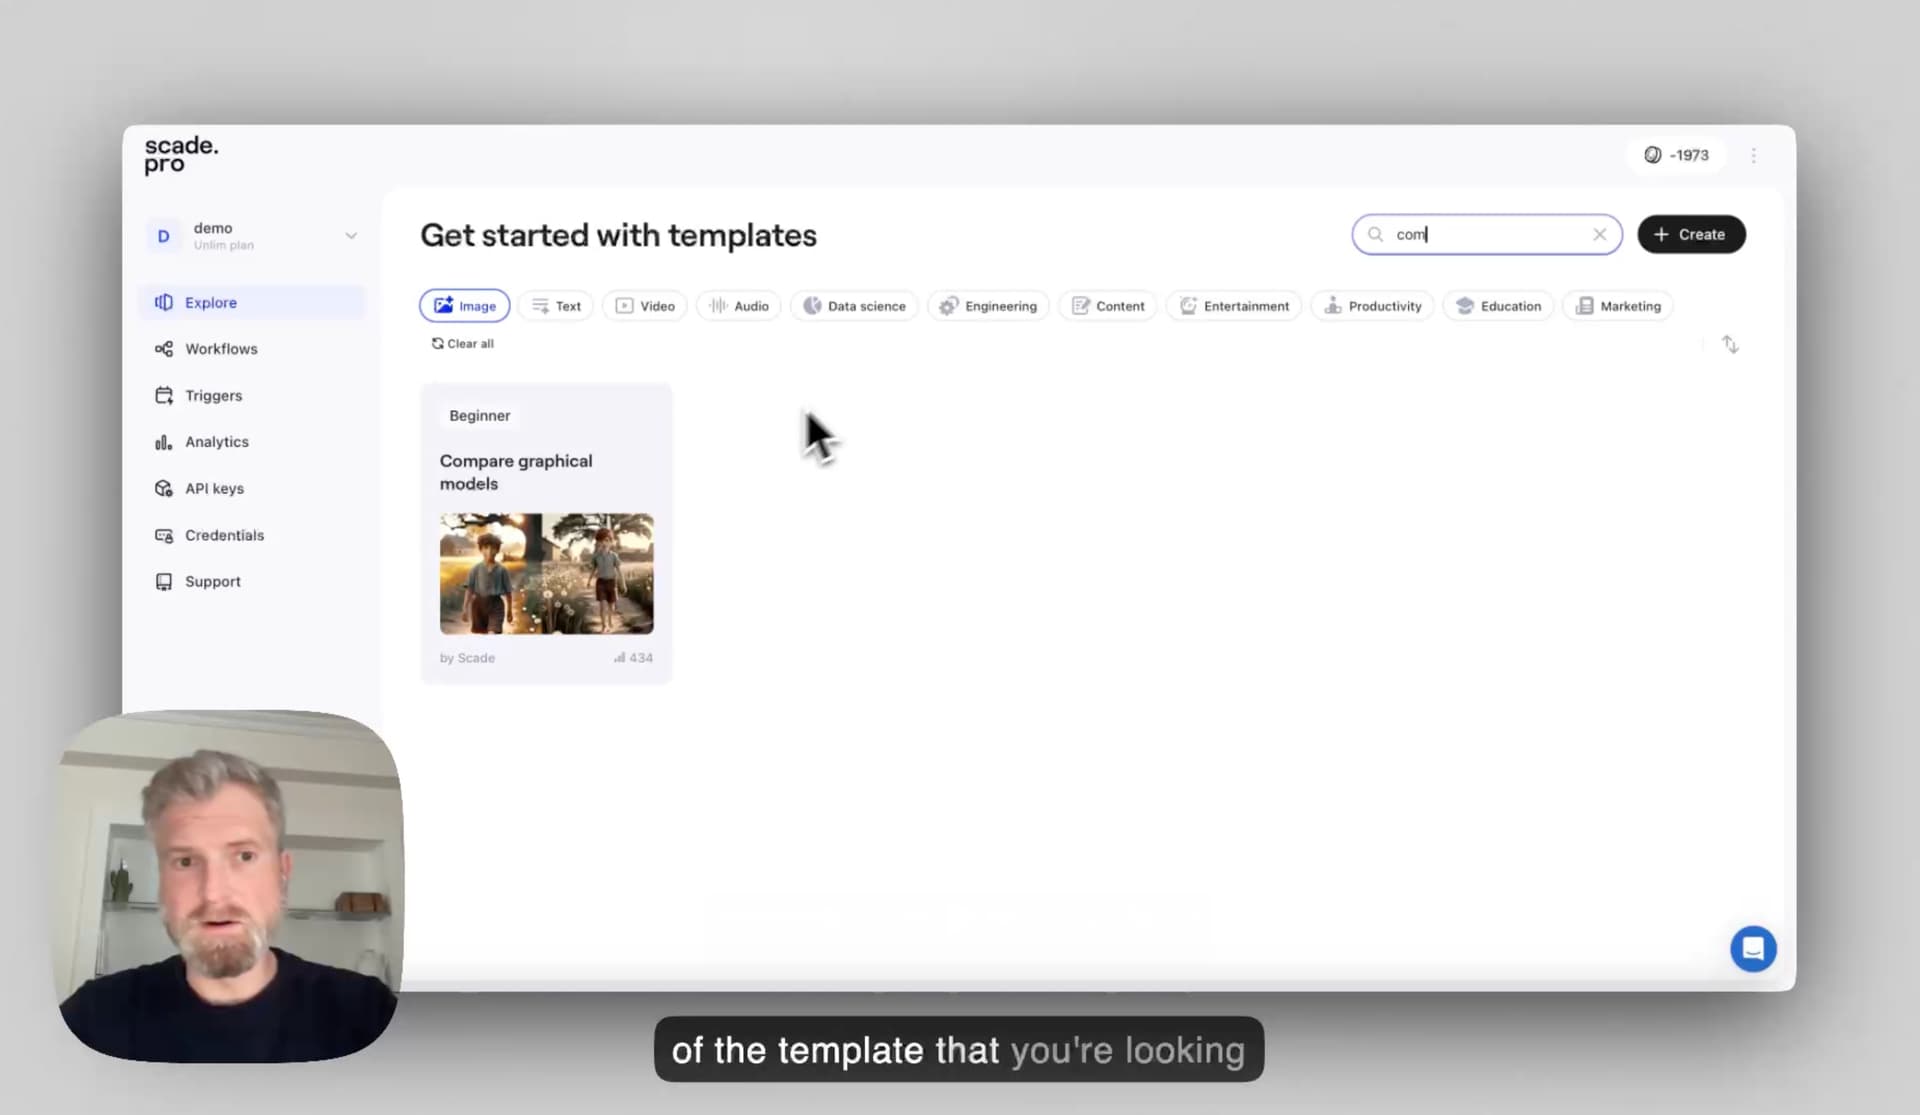
Step 1: Open the template
- Launch Scade and go to the Explore section.
- Use the search bar or tags to locate the template.
- Click the template to load it onto your canvas.
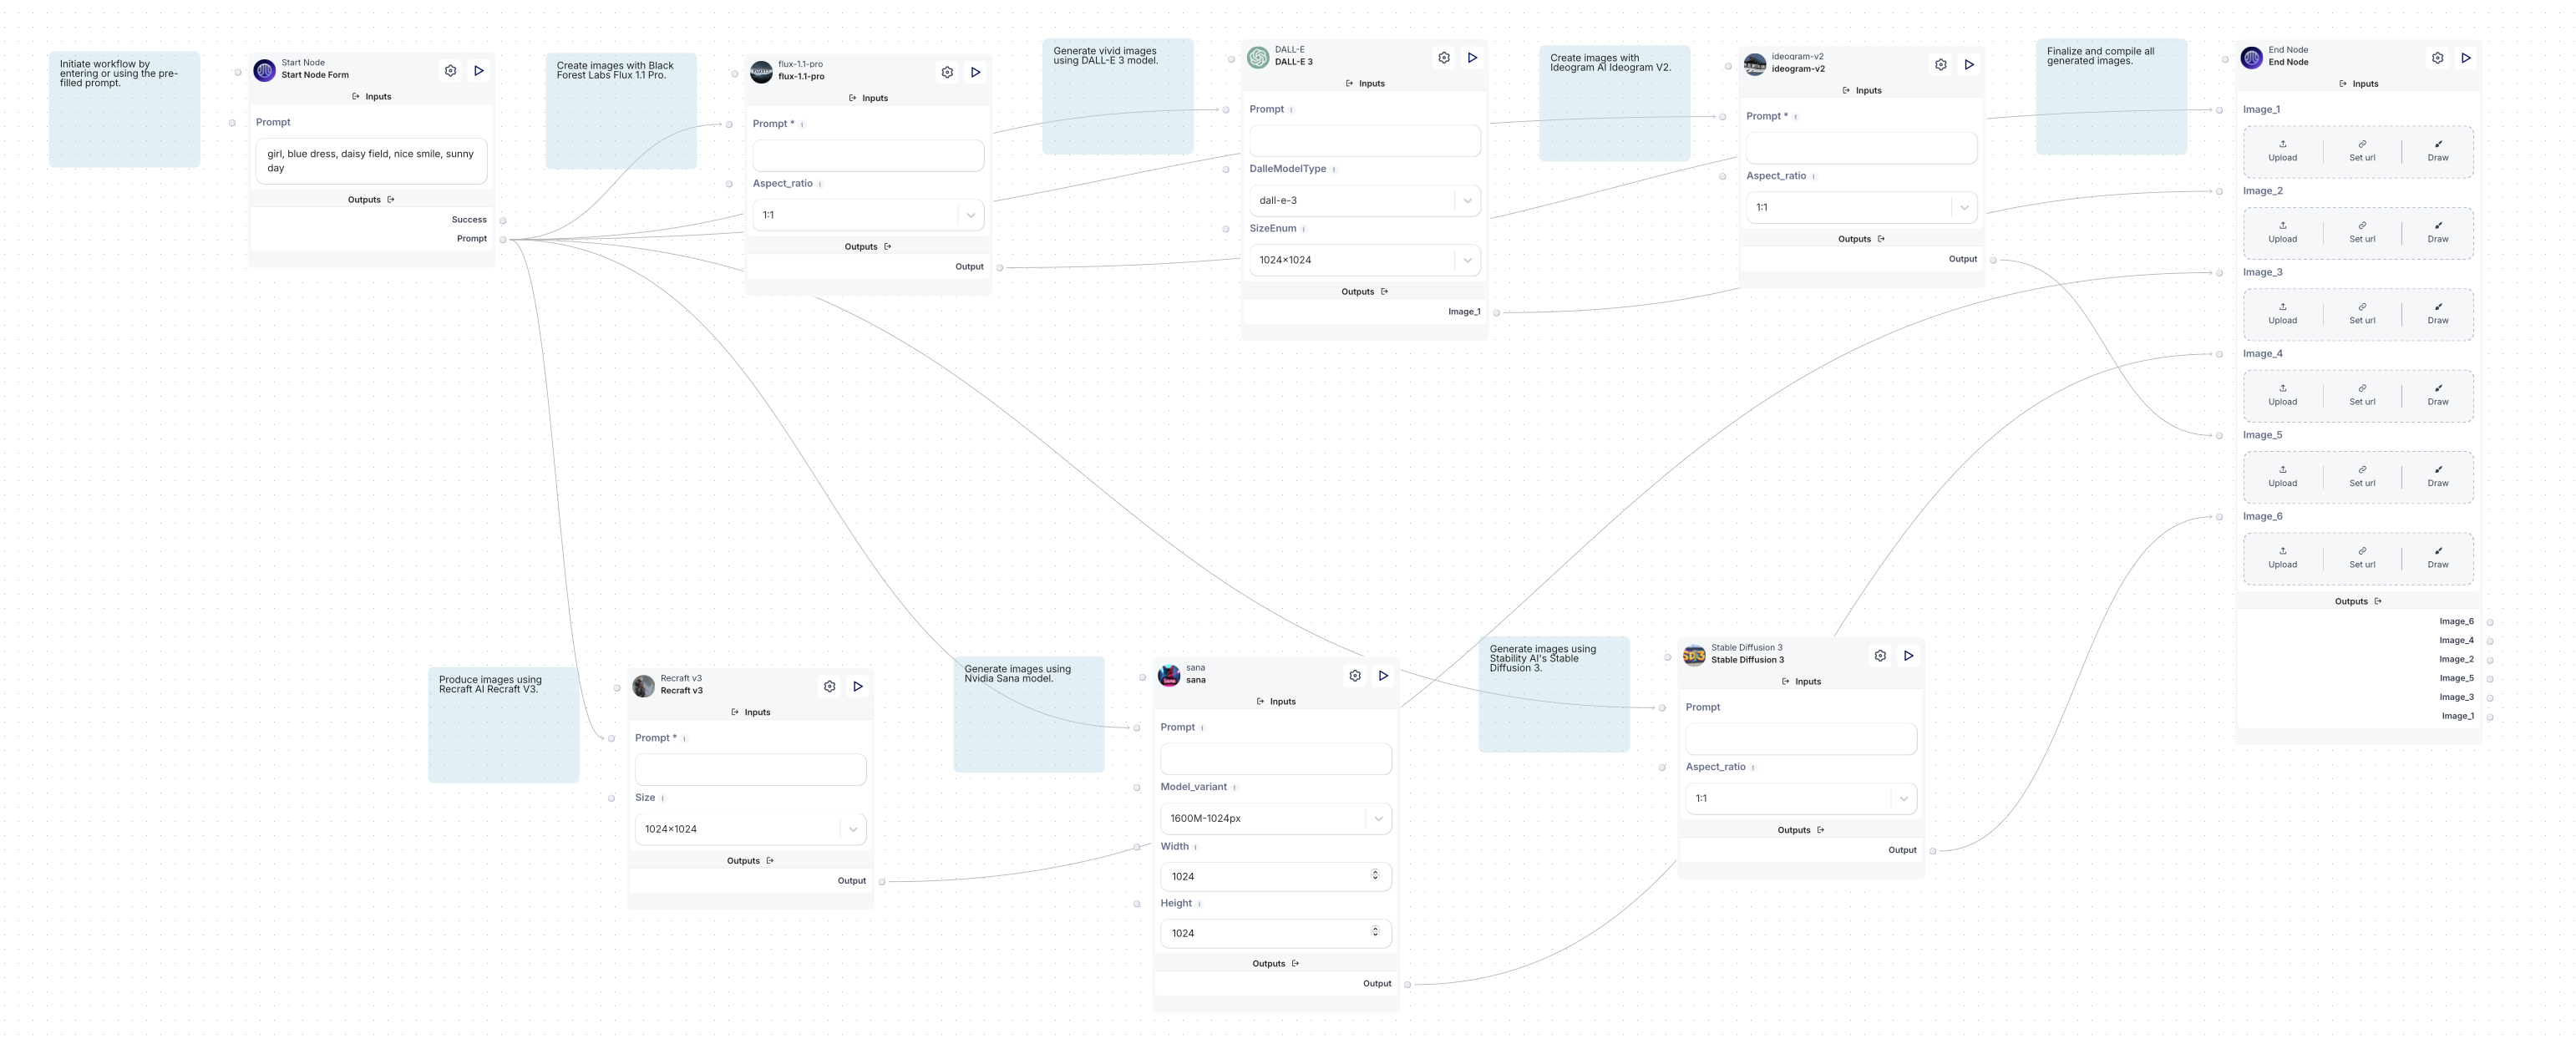
Step 2: Understand the canvas and nodes
- Identify the nodes on your canvas, you’ll see several blocks, with each representing a different AI models.
- Zoom into a node to view its role. You can customize settings, prompts and connections to other nodes.
- Observe how nodes are linked, where the output of one node flows into the input of the next, creating a seamless process.
- Go to the Start node, as this is where you’ll set up your input data and initial configurations.
Step 3: Configure the template
Step 1: Enter or confirm the prompt
- Begin by entering or reviewing the pre-filled prompt in the Start Node.
- Example prompt: “girl, blue dress, daisy field, nice smile, sunny day.”
- Hit ‘Start flow’ to begin image generation.
Step 2: Generate images across models
The prompt is sent to multiple image generation models:
- DALL-E 3: Produces vivid and high-quality images.
- Flux 1.1 Pro: Creates images with specific quality and aspect ratio settings.
- Recraft V3: Generates images with adjustable styles and dimensions.
- Stable Diffusion 3: Outputs high-resolution images with advanced settings like CFG and prompt strength.
- Ideogram V2: Focuses on specific style types and resolutions.
- Sana: Produces images with detailed control over dimensions and guidance scale.
Model-specific settings: Adjust each model’s settings by clicking their respective buttons:
- Add or tweak prompts
- Include an image or change aspect ratios
- Modify dimensions such as width and height
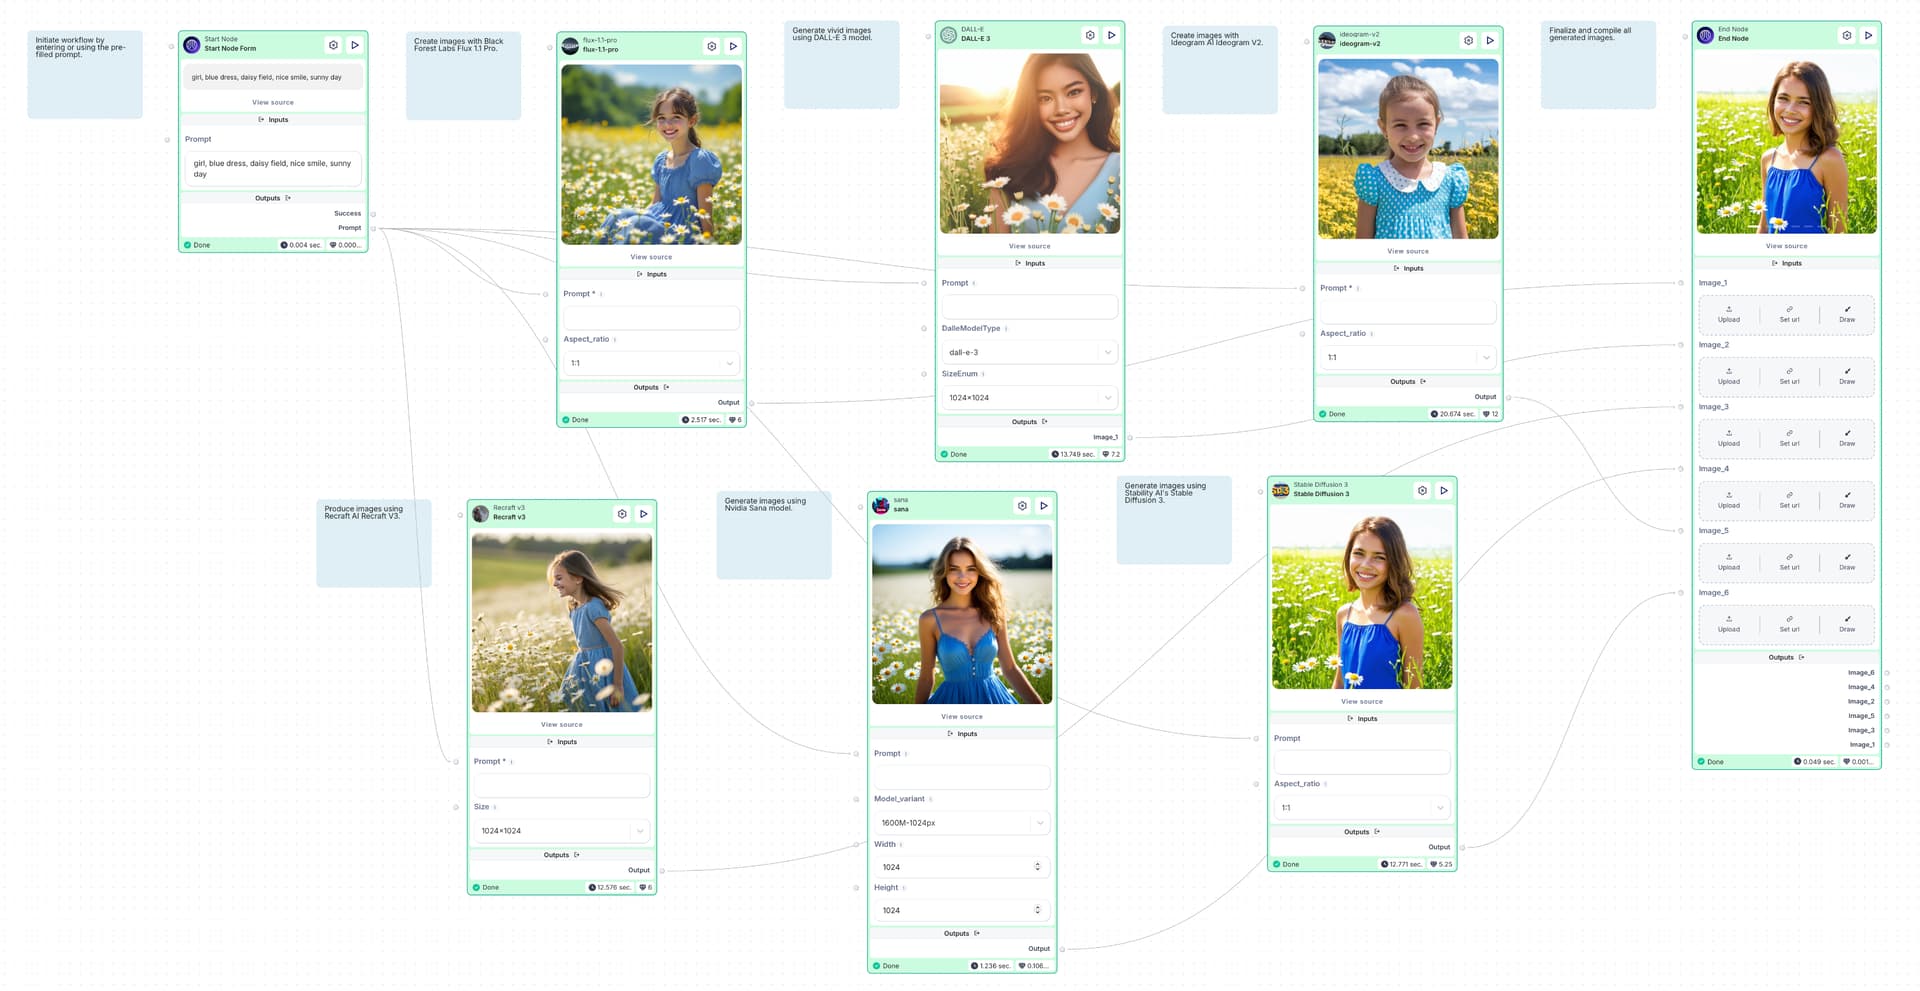
Step 3: Compile all outputs and download results
- Each model generates its unique image based on the prompt.
- The generated images are sent to the End Node, where they are compiled.
- At the End Node, all generated images are available. You can download and compare the outputs from different models.
Step 4: Enhance the flow
- Build larger flows: Embed the current template into broader, customized flows for unique business needs.
- Add more nodes: Browse the library of AI models and tools on the left to add extra nodes for greater customization.
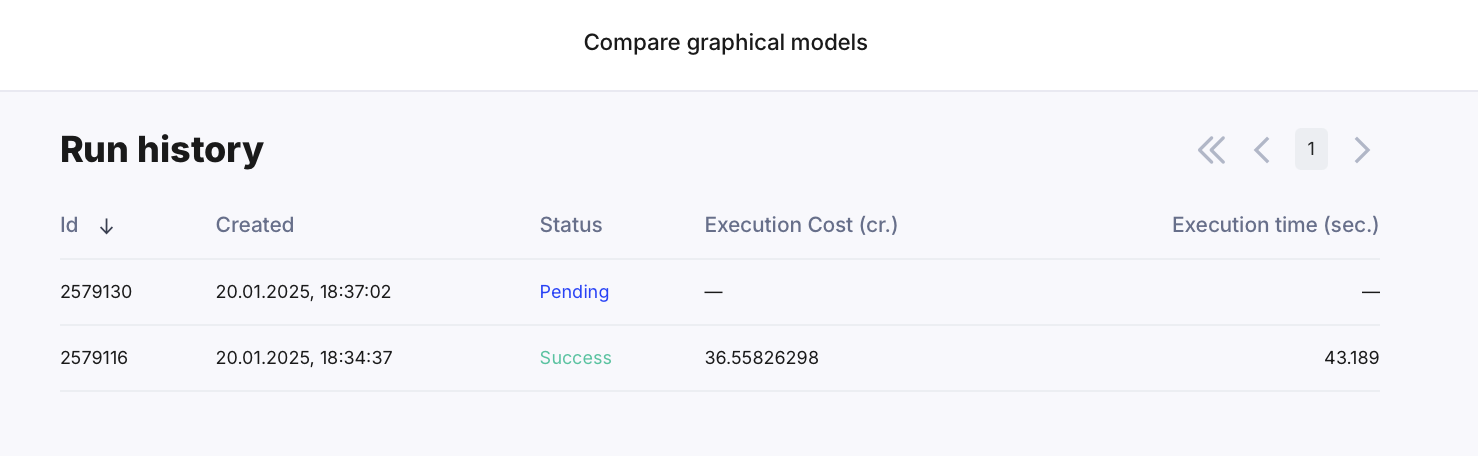
Step 5: Use analytics and sharing
-
View analytics: Click the ‘Analytics’ button in the top left corner to view execution costs and times for each run.
-
Share your flow: Make your flow public by publishing it, or link it to other flows using an API. Read more about Publishing your AI app and the Unified API.
-
Subscription benefits: All models are covered by your Scade subscription, so no extra charges apply.
Need help? Comment below, our team and community are here to help and ensure you get timely support.